


")
")
ZIO IR Thermometer with Blynk and OLED

This post is part of our Blynk your Zio blog Series
In this tutorial, let's build an IoT Thermometer using the Zuino XS PsyFi32 and our IR Temperature sensor! The board incorporates an MLX90614 sensor, able to measure a wider range of temperatures than other temperature sensors - as it doesn’t need to make contact to the object’s surface.
This is a pretty cool project that doesn’t require a complicated hardware setup and can be used as IoT or just as a simple project displaying data on an OLED Display.
Prerequisites:
You should have already configured and installed PsyFi32 for development with the Arduino IDE. If you haven't, check out our previous tutorial to learn how to use the PSyFi32 with Arduino IDE.
Difficulty Level:
Hardware:
- Zuino XS PsyFi32
- Zio Qwiic Surface Temperature Infrared Sensor (MLX9061)
- Zio Qwiic OLED Display 128X32
- Qwiic connector X 2
- USB A to Micro USB B cable
Software & Libraries:
- Arduino IDE
- Arduino ESP32 library
- Blynk Library
- Sparkfun Arduino MLX90614 library
- Adafruit Unified Sensor Driver library
- Adafruit SSD1306 Library
- Blynk APP
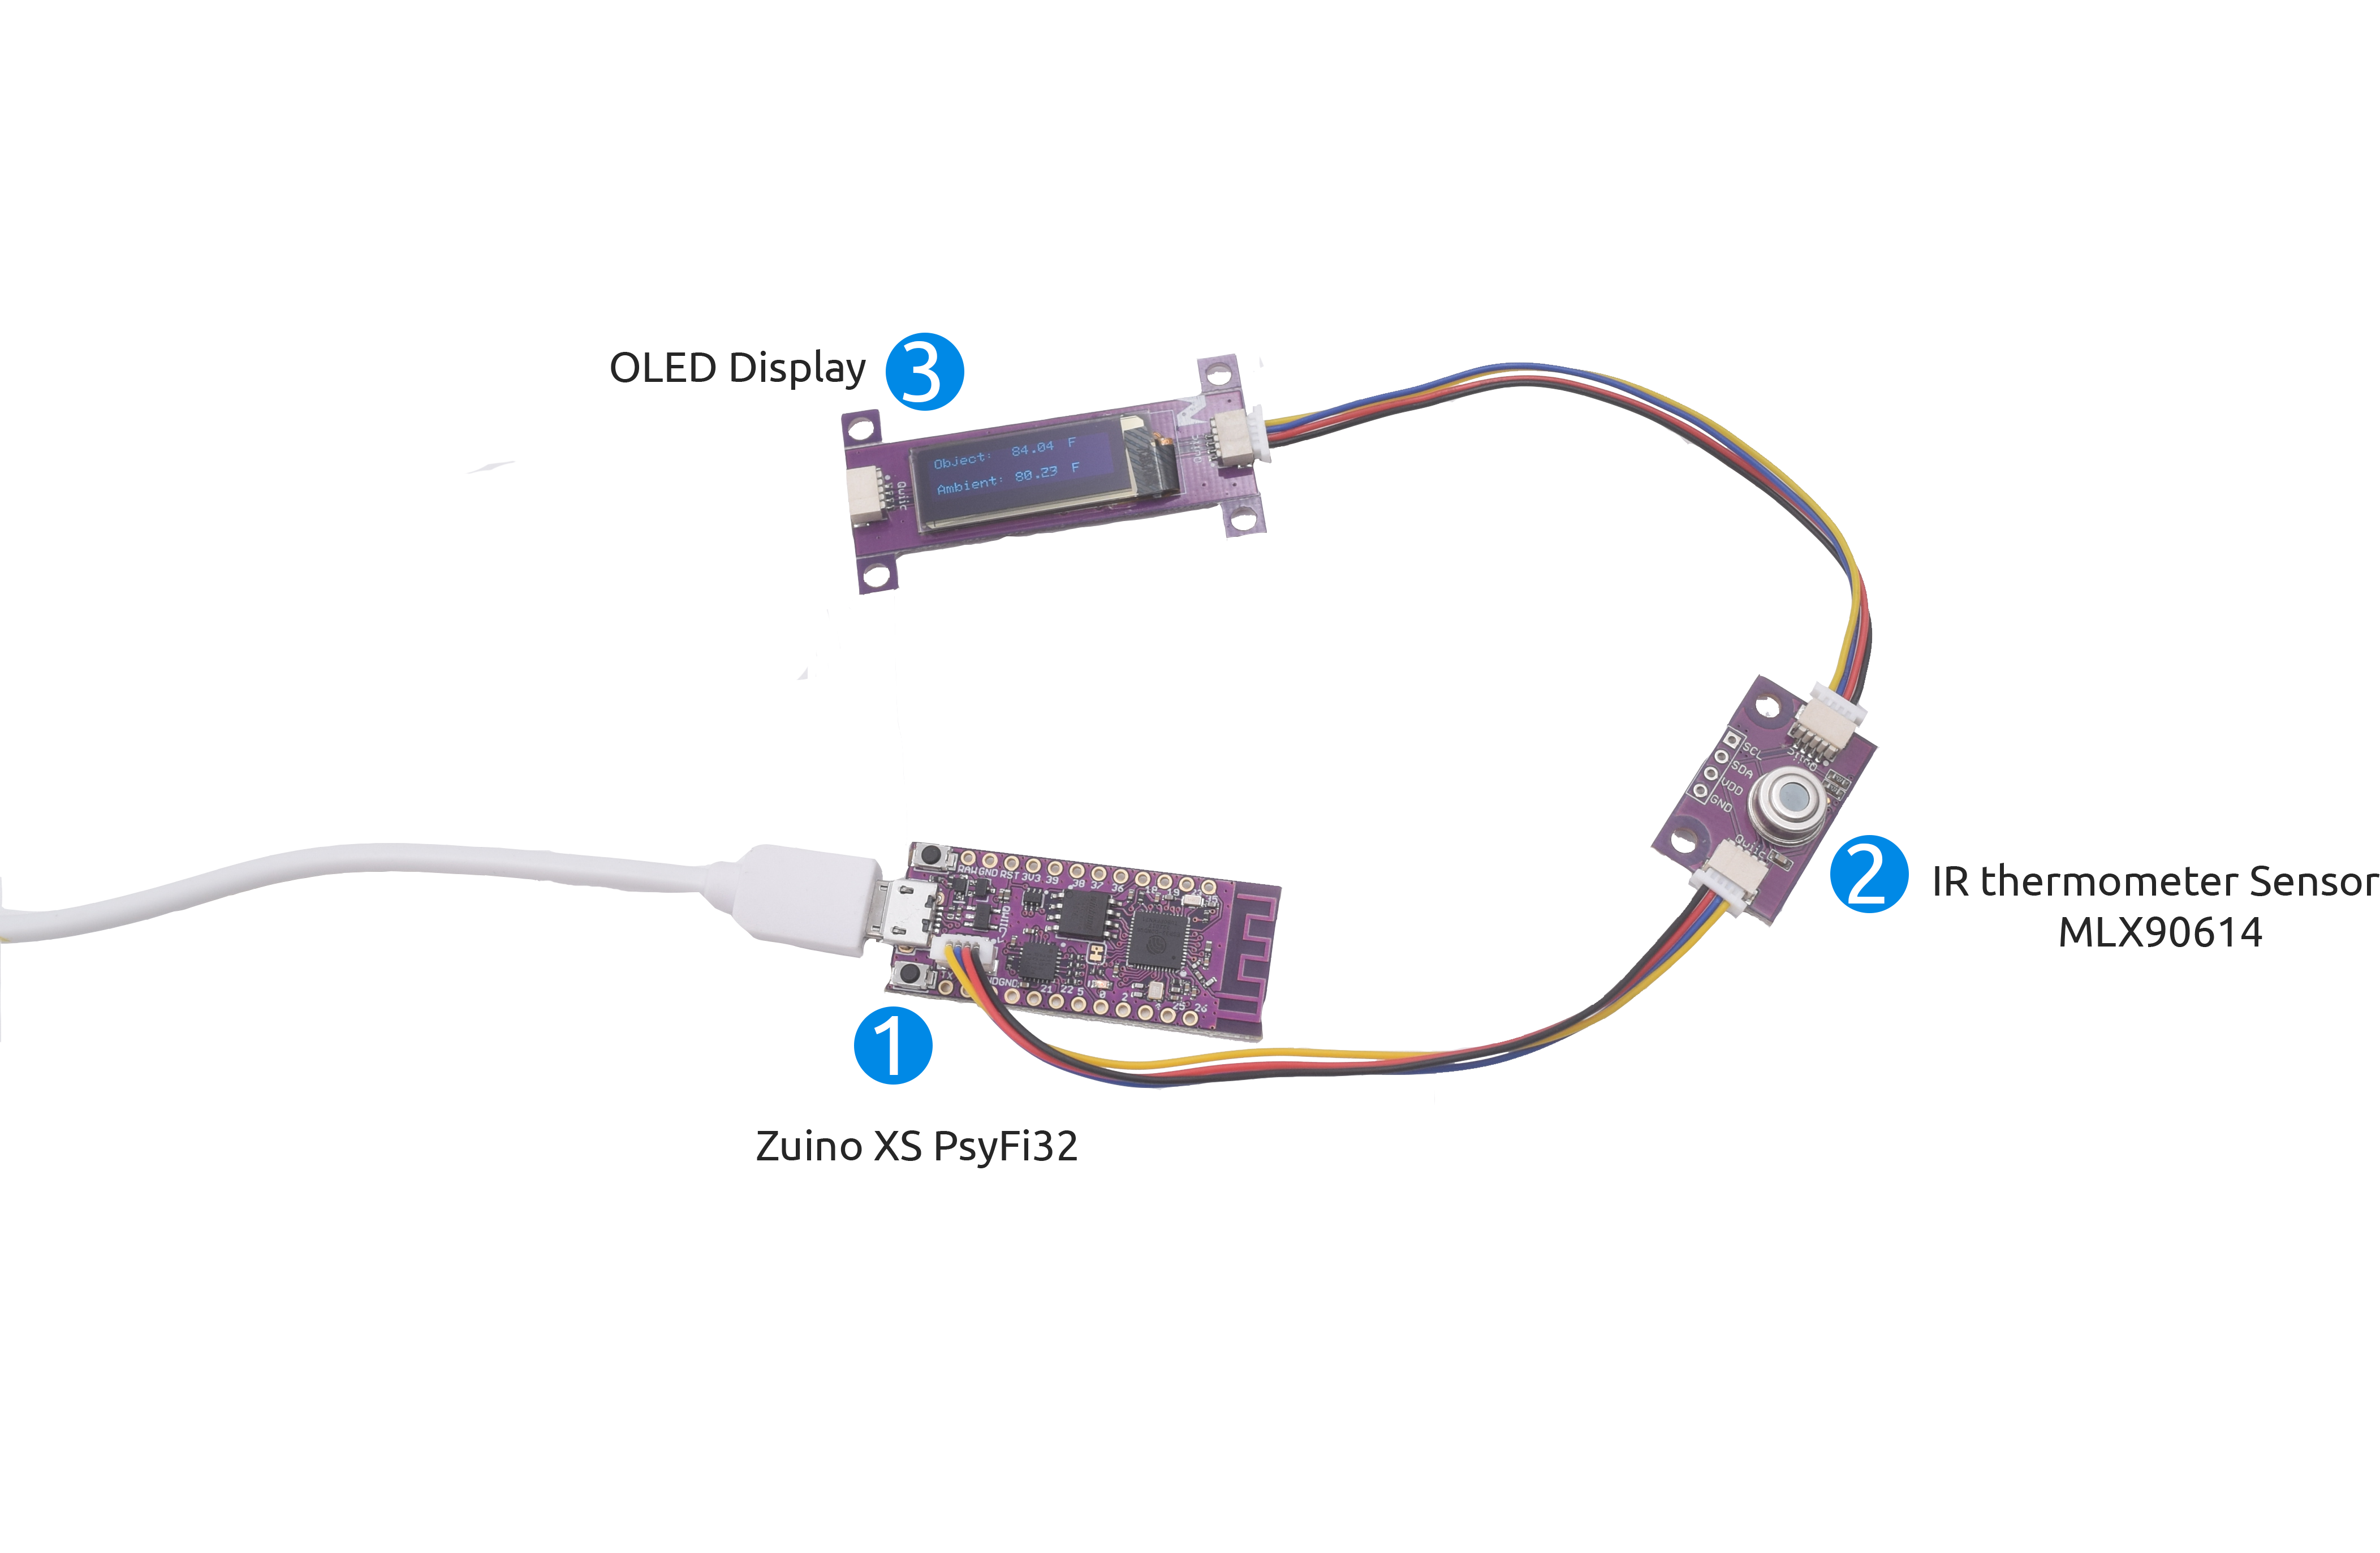
Step 1: Connect the PsyFi32, IR Thermometer sensor and the OLED Display
Power the PsyFi32
Step 2: Setup Blynk APP
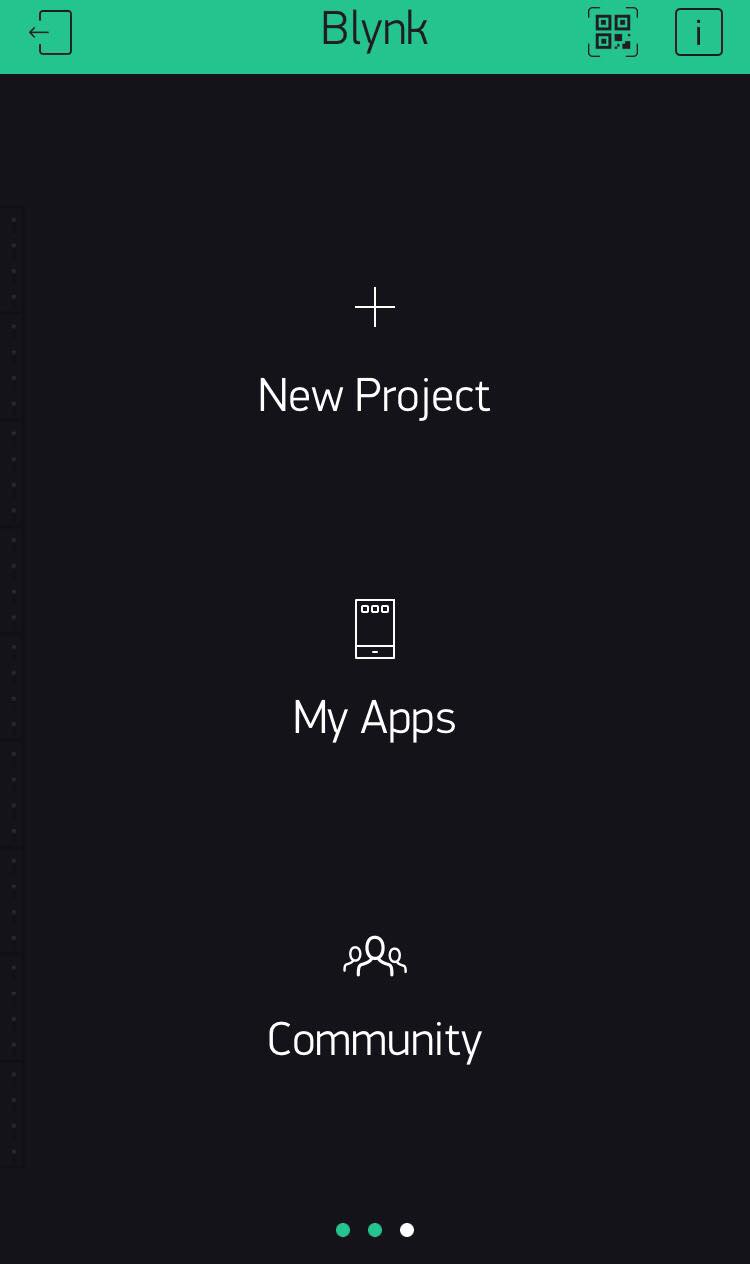
1. Download the Blynk APP and create a user
2. Create a New Project
3. Fill up a Project Name, select ESP32 Dev Board and WiFi as Connection Type
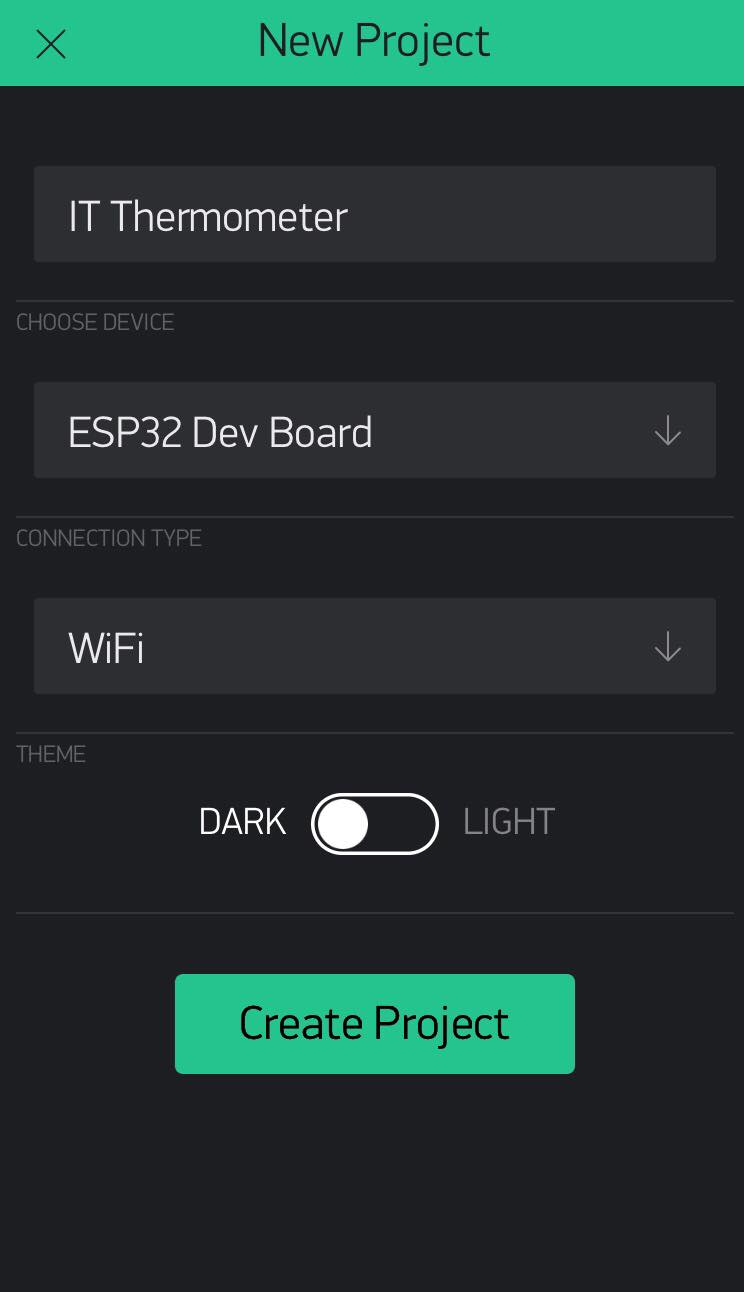
4. An email will be sent with an Auth Token, keep this email as the Token information will be needed later on! This Token can also be found under your Project settings (It is the icon that looks like a nut bolt just next to your project name).
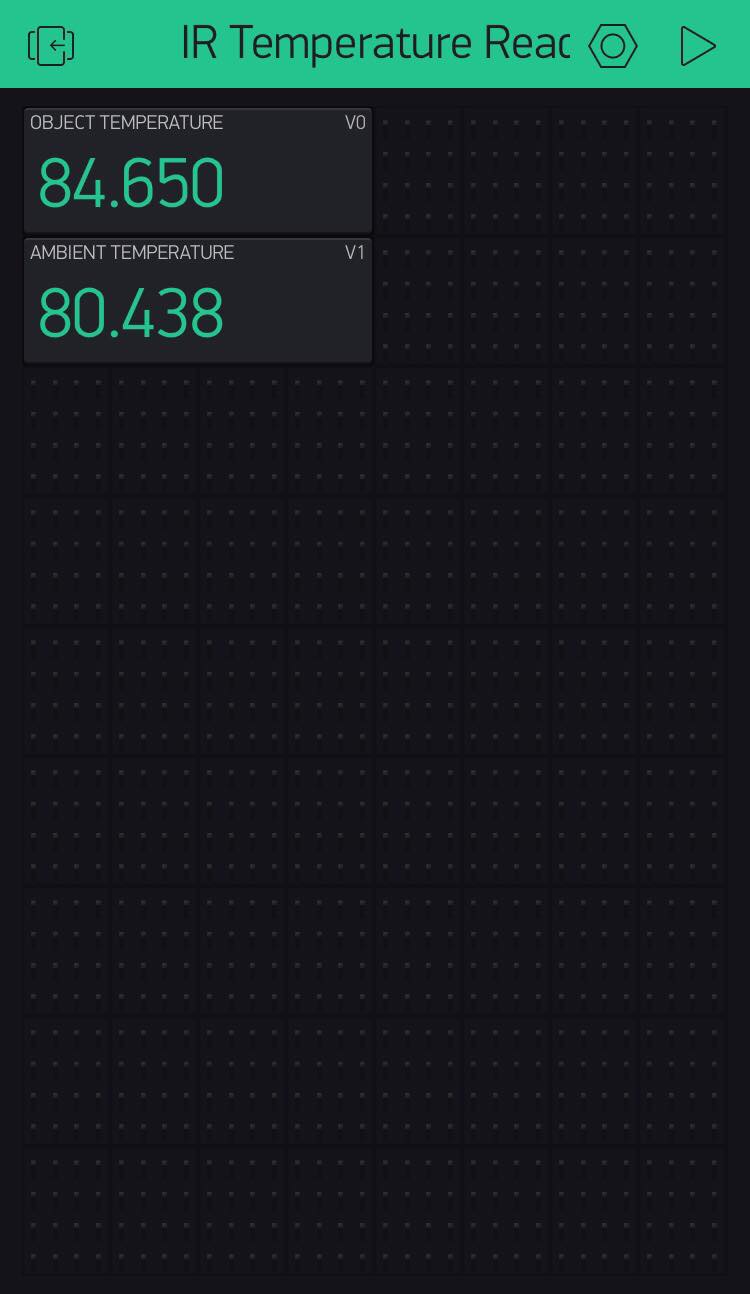
5. Tap on the screen and select Value Display on the Widget Box
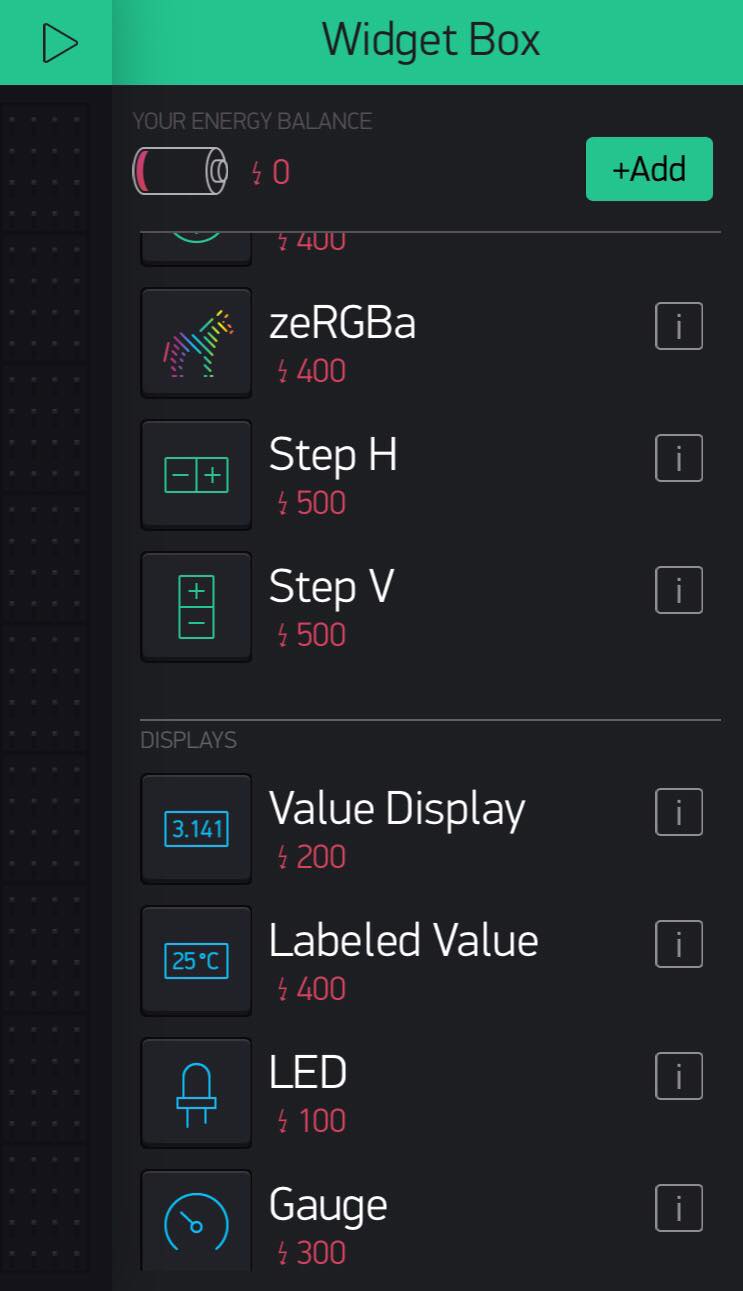
6. An empty box will appear on the screen, tap on it to open up the Display Settings
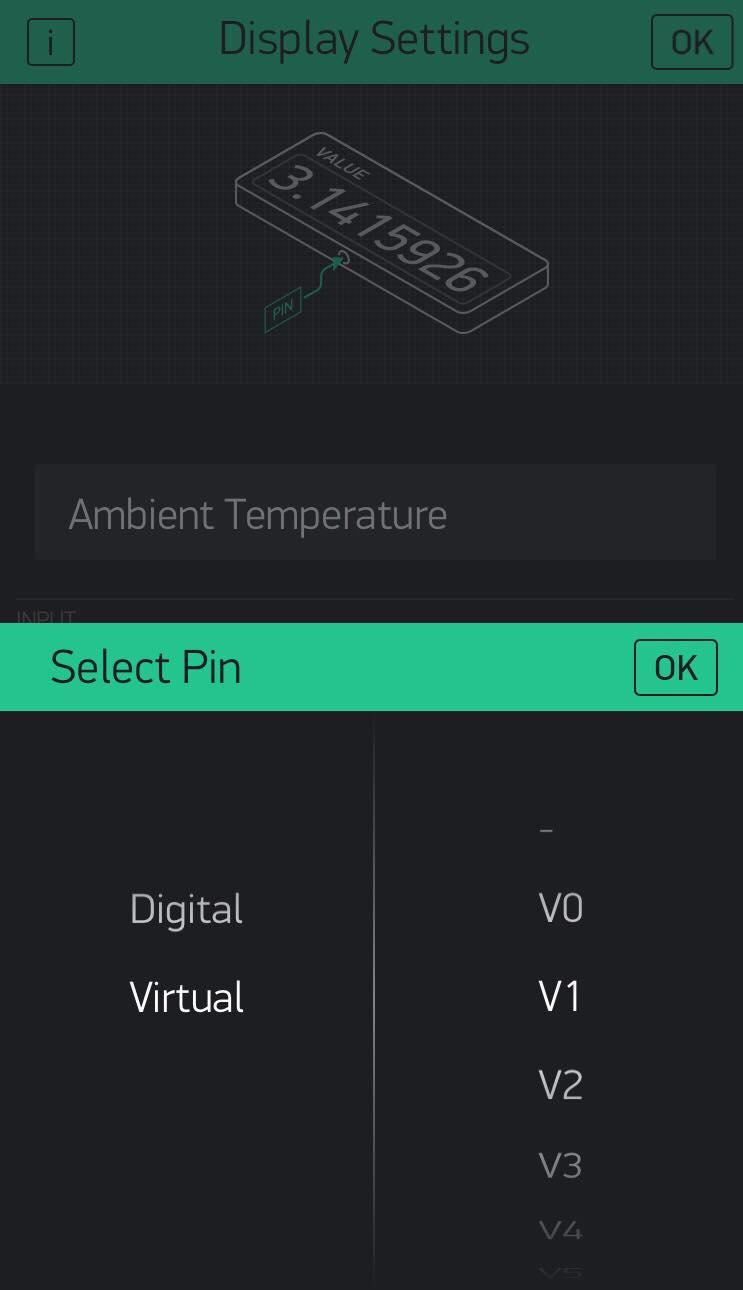
7. Type in Object Temperature on the Title. Select PIN and change to Virtual. Select V0 on the selection for the Virtual PINS. Tap OK on the right top corner.
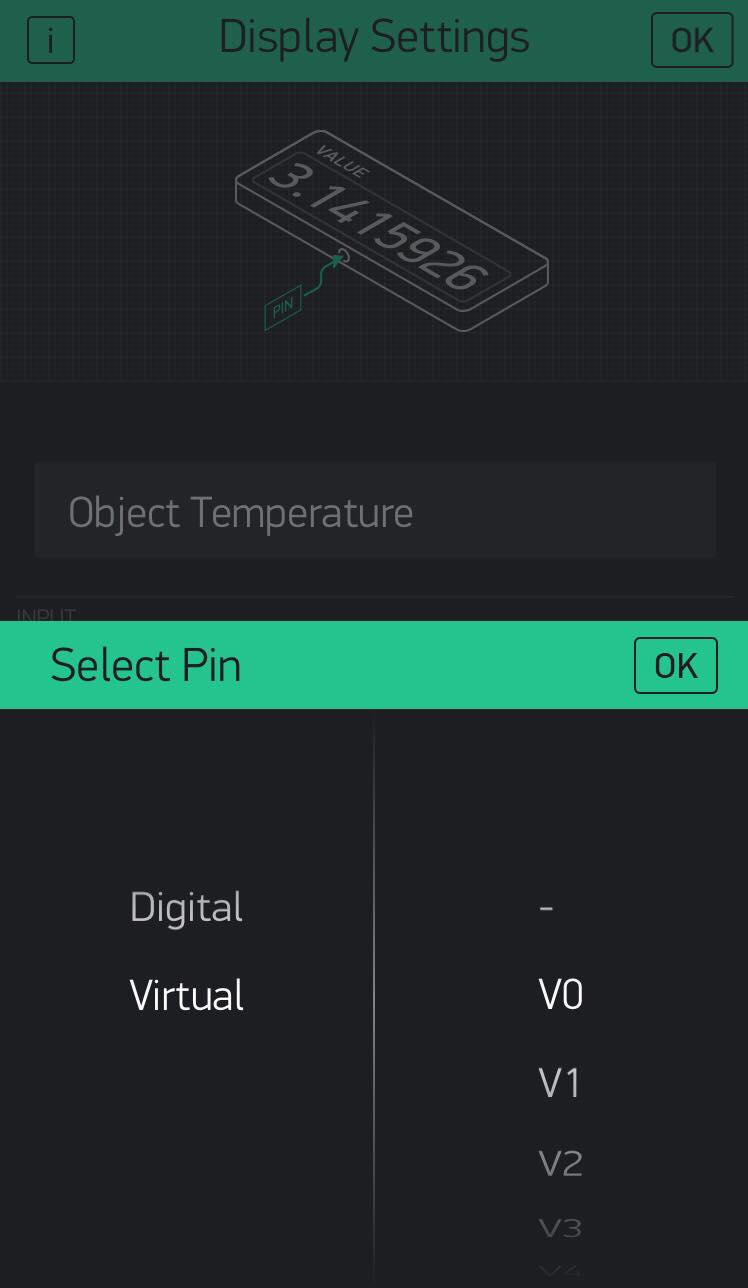
8. Tap on the screen again and select another Value Display on the Widget Box. Follow step 6 and 7 but change the Title to Ambient Temperature and the PIN to V1
Now we have created two Value Displays to gather both Object and Ambient Temperatures.
Step 3: Flash the PsyFi32
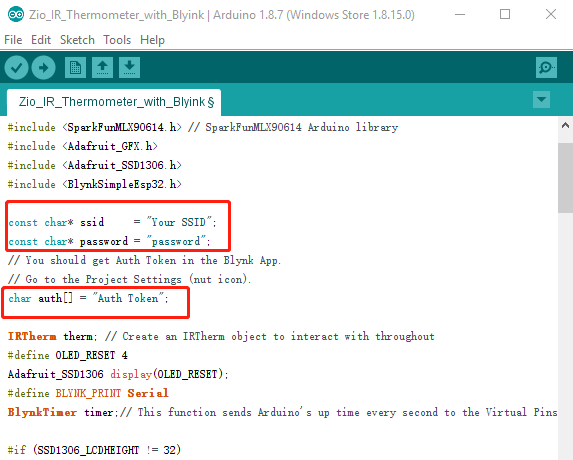
Download the code for this project
Go to your email and copy paste the Auth Token to the code as well as changing the SSID and password for the WiFi network. Flash the firmware!
Step 4: Display Data to Blynk
By now you should be able to view the sensor data on the OLED. In order to also view the data on the Blynk, go to the APP one more time and tab on the ‘Play’ icon on the right left corner.
After this, the project is complete and the data is also being displayed to your phone!