


Raspberry Pi Relay Module Tutorial
RPI Relay Module tutorial
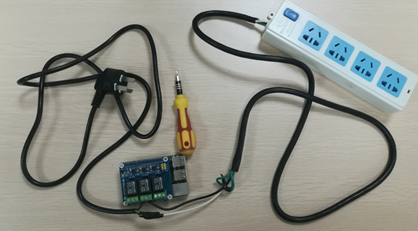
This Raspberry Pi relay module allows you to build a remote-control power system to turn on/off your device at home. It is a Raspberry Pi friendly module; no wiring work requires, and the device connection is very simple! All you need to do is just follow this tutorial and setup the system.
What you need
Hardwares:-
Raspberry Pi board.
Relay module
SD card (memory not less than 8G) and a card reader
Screw driver
cable (for home power)
A power strip
A device for testing (Here I use a battery charger)
Software:-
SDformattor for windows
Win32DiskImager
putty
Xftp
Raspbian latest Image
WebIOPI
Demo Code
The coding process
Step 1) prepare your Raspberry Pi board and make sure you can access it by PuTTy. Not sure you've done it? Check out here for RPi start from Zero.
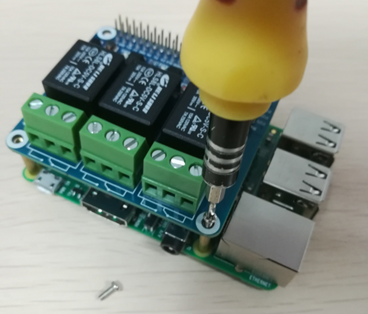
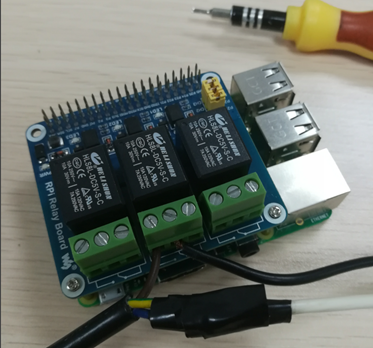
Step 2) Connect the relay module to RPi. Use the screw to do the necessities as shown in the picture below.
Warning: Do not connect the power strip to the relay module when you’re doing this.
Step 3) Connect to raspberry Pi by PuTTy, install WebIOPi and demo code
Upload the WebIOPi and demo code file to raspberry Pi. We will use xftp to transfer the file to Raspbian.
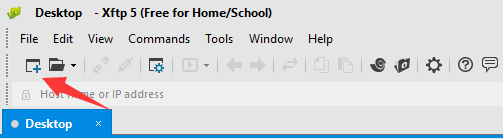
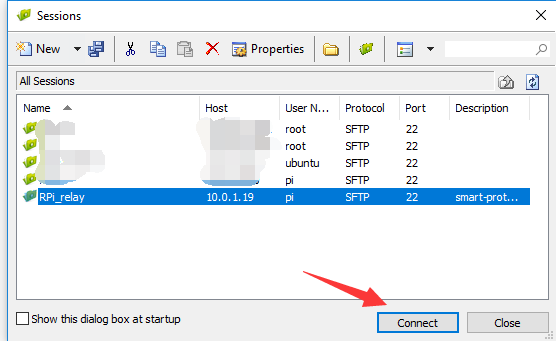
Open the xftp application, click “+” button:
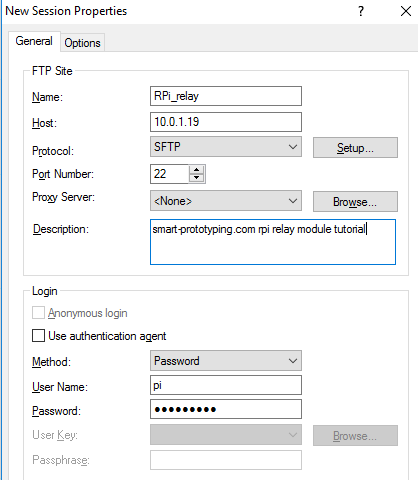
Name: whatever you want to call for this connection
Host: Your RPi IP address
Protocol: SFTP (this is important, ftp won’t work here)
Port: leave it as default value 22
User Name: pi
Password: raspberry
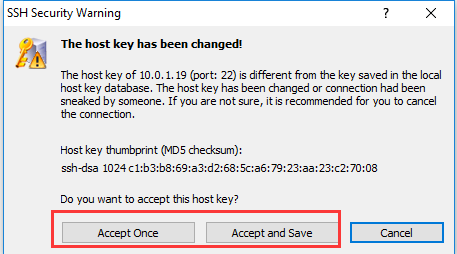
Choose to accept the host key if you get this warning
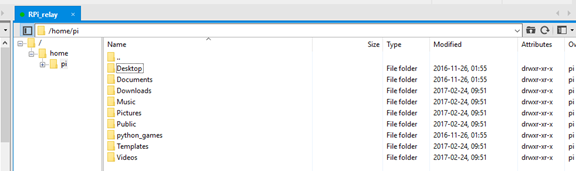
Now you can use xftp to transfer files to raspberry pi, just by copy and paste.
Now let’s go to putty to install the webiopi.
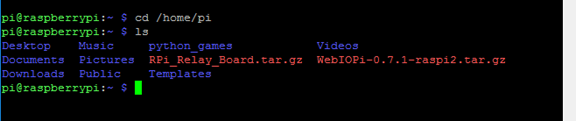
Type the following command on putty in the pi folder path: /home/pi
cd /home/pi
Check what’s in folder "pi"
ls
You will see:
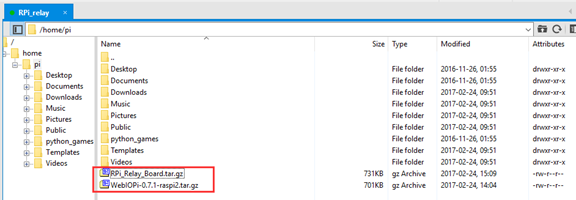
Now let’s use tar -xzf command to extract the WebIOPi-0.7.1.tar.gz
tar -xzf WebIOPi-0.7.1-raspi2.tar.gz
If it says “No such file or directory”, you need to check the whether file name is correct again, remember that in Linux file system the letters is case sensitive.
Use “ls” command again to check the folder list.

Now get into WebIOPi-0.7.1 folder and install, command:
cd WebIOPi-0.7.1-raspi2
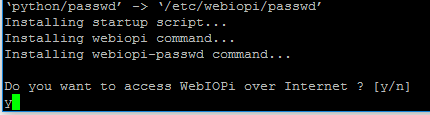
sudo ./setup.sh

Then it will automatically install the webiopi and the whole relevant application, it will take about 5-10 minutes again, so go make a another coffee. At the end, it will ask you a y/n question, just input “y” here and press enter.
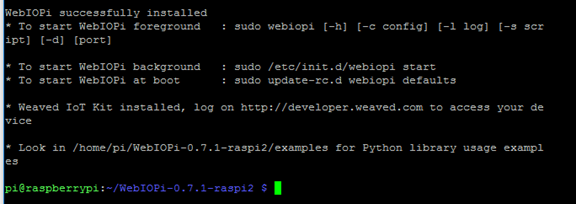
Check if the installation is successful or not, command:
webiopi -h

Command:
Sudo webiopi -d -c /etc/webiopi/config
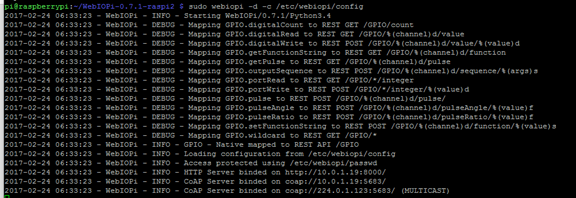
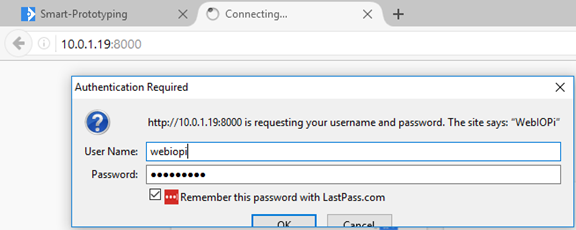
Open your browser and try to access this IP address: 10.0.1.19:8000, on your side you should use your raspberry Pi IP address instead of the “10.0.1.19”, and add port number 8000.
Then use user name webiopi and password raspberry to login.

Now ctr + c to terminate the webiopi

Install demo code. Return to folder pi, command:
Cd ..
Extract demo code file RPi_Relay_Board.tar.gz, command
Tar -xzf RPi_Relay_Board.tar.gz


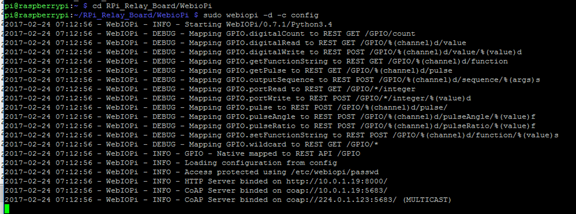
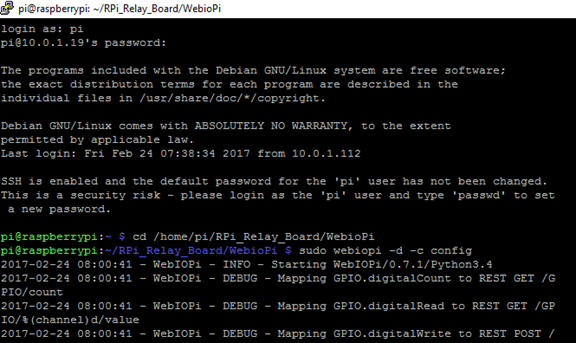
Go to path /RPi_Relay_Board/WebioPi and run demo code, command:
Cd /RPi_Relay_Board/WebioPi
Sudo webiopi -d -c config
Then refresh the webpage in web browser
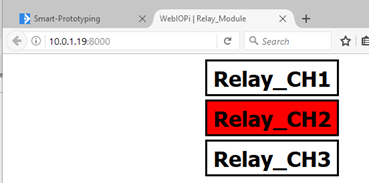
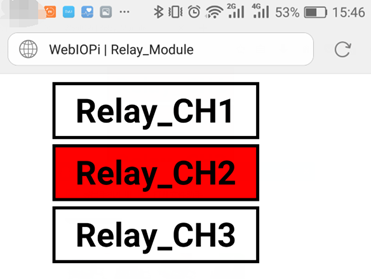
There’s three tabs that you can control for on and off.
The button in white means it is off, while the red one means on. You can hear the relay on/off sound when you click the button. There are three LED for each channel, indicating the relay is On/Off.
Use your smartphone browser to test it.
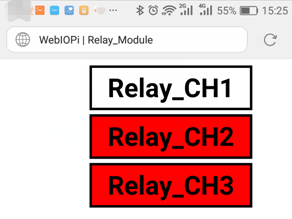
Now you can connect your power to the relay module!
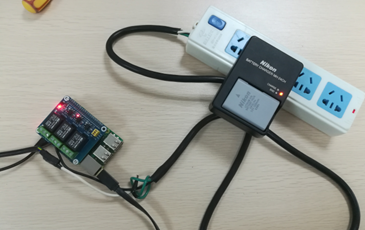
Step 5) Testing the power strip
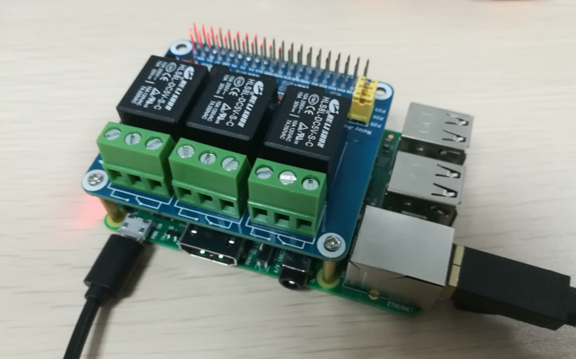
Power off raspberry Pi. Connect the power cable to relay module, then turn on raspberry pi and connect Ethernet cable in.
Use putty to connect with raspberry Pi. Same like before, after login, run command
Cd /home/pi/RPi_Relay_Board/WebioPi
Sudo webiopi -d -c config
Refresh the web page http://10.0.19:8000, here I connect the power socket to channel 2 relay module, so I can only power the Channel 2 on.
Relay on:
Relay off:
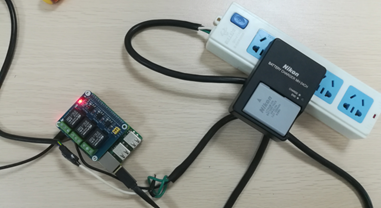
Voila!
Furthermore, if you have a static IP for your internet, or a tie-in domain with your internet, you will be able to control your home’s power by smartphone.
1 Comment(s)

Hi Thanks for this great tutorial, could you please help me get to run this with the shown config automatically on startup? It works fine when you run the command from the shell with the given config but it stays in the foreground and it would be nice to have it started automatically.Regards Michael