E-Ink Display with Espruino Pico
E-Ink Display with Espruino Pico
The Espruino Pico puts the little in pico. If you haven’t ever encountered this tiny, low-powered microcontroller, the Pico is the successful little sister/brother to the Espruino. That’s not to say the Espruino isn’t successful, the Pico is just loaded with features. Its own USB stick, everything you need including JavaScript, is packed into a single chip.
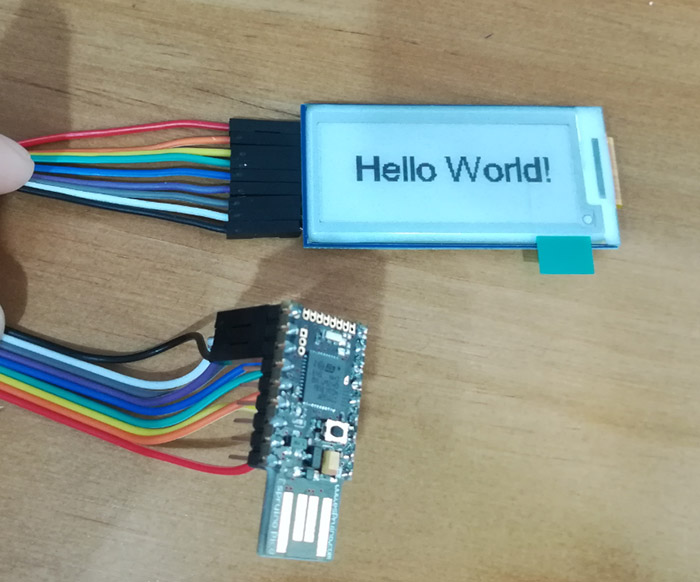
Today we’re combining it with an E-ink display because who doesn’t want to display a message practically forever, or until you program another message on it. Another low-powered device, it doesn’t need battery to display a message to the world.
This is a basic introduction to get you started using the Espruino Pico microcontroller and E-Ink Module.
Hardware:
Software:
Code:
Check this Espruino quick start tutorial if you haven’t installed Espruino Web IDE.

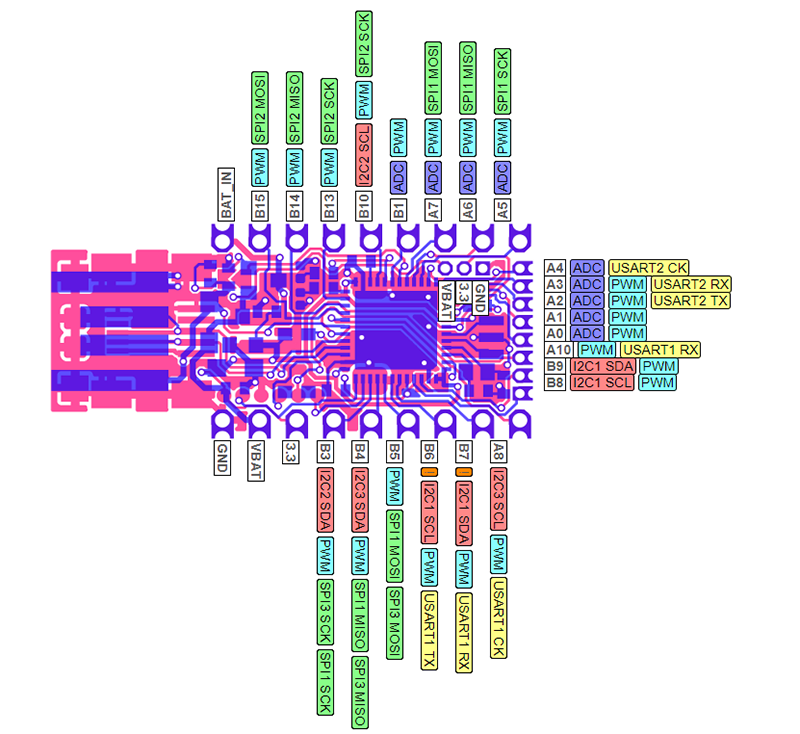
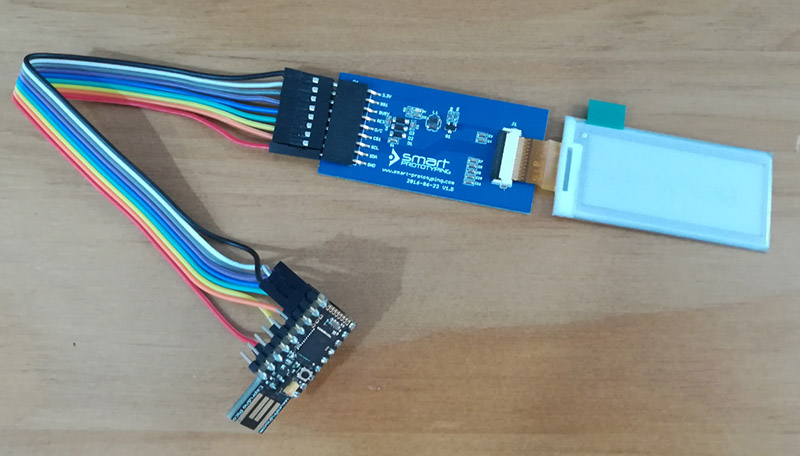
Let’s connect the E-ink display module to the Espruino Pico, here is the connection table and down below is the pinout of the Pico:
| E-Ink Display Module | Espruino Pico |
| 3.3V | A7 |
| BS1 | A6 |
| BU/BUSY | A8 |
| RES | A5 |
| D/C | B7 |
| CS1 | B6 |
| SCL | B3 |
| SDA | B5 |
| GND | GND |
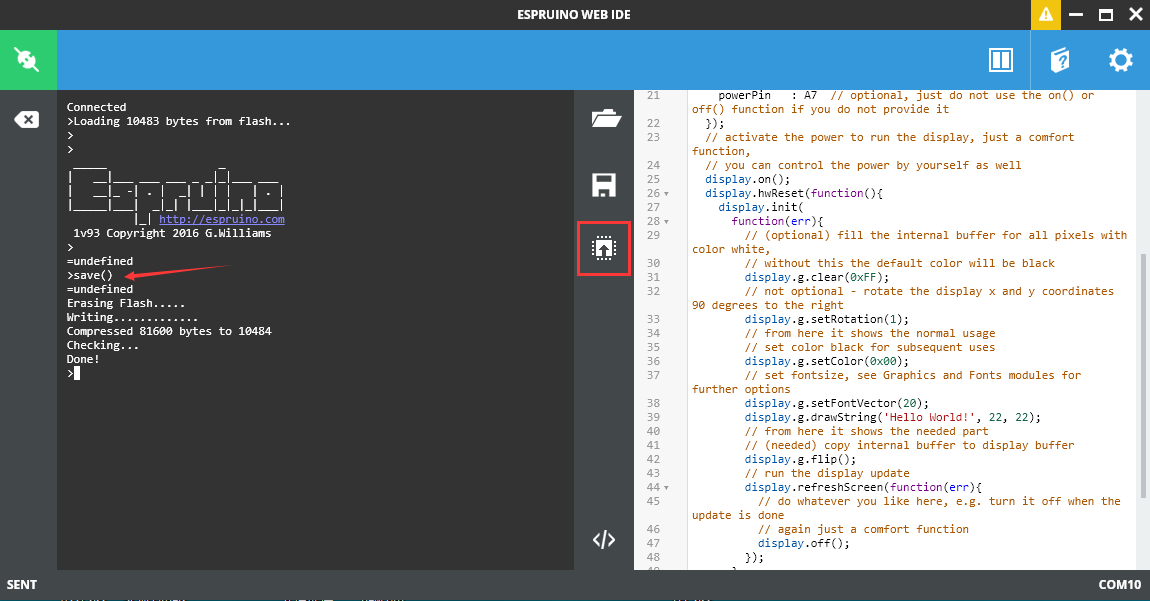
Open the Espruino Web IDE, copy paste the provided code to the IDE, click “Send to Espruino”, and run the save() commend in the left side by typing it in under “=undefined”.
After pressing enter, the display will show “Hello World!”.