


How To Get Start With Raspberry Pi From Zero
How to get start with Raspberry Pi from Zero
The Raspberry Pi is a credit-card-sized computer that plugs into your TV and a keyboard. It is a capable little computer which can be used in electronics projects, and for many of the things that your desktop PC does, like spreadsheets, word processing, browsing the internet, and playing games. It also plays high-definition video. We want to see it being used by adults and children all over the world to learn programming and digital making.
This article is to tell you how to get start with Raspberry Pi B+, intall the Raspbian OS, and get connect with it by PuTTy.
What you need?
Hardwares:-
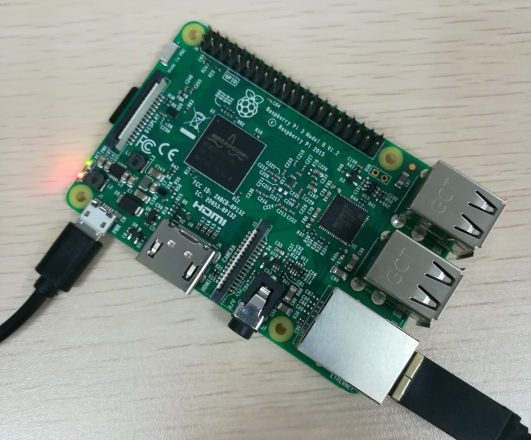
Raspberry Pi board B+ or other version on your hand.
MicroSD card (recommend: memory not less than 8G) and a card reader
Software:-
SDformattor for windows
Win32DiskImager
putty
Xftp
Raspbian latest Image
Alright, here we go...
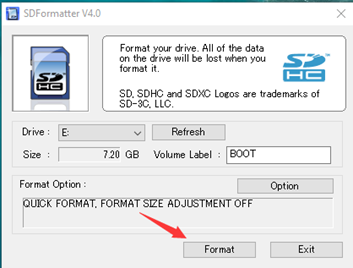
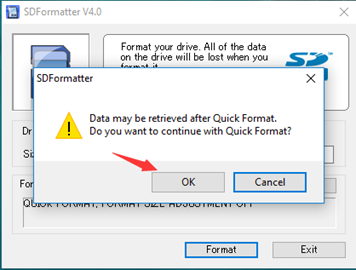
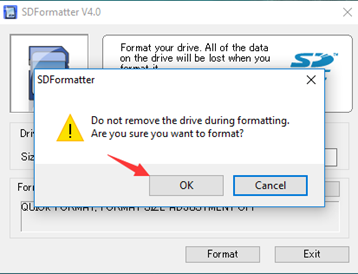
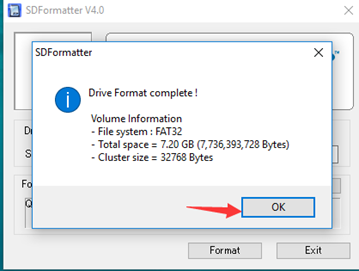
Step 1) Format MicroSD card.
Plug MicroSD to computer, run SDformattor to format MicroSD card.
Step 2) Copy the raspberry Pi system to SD card.
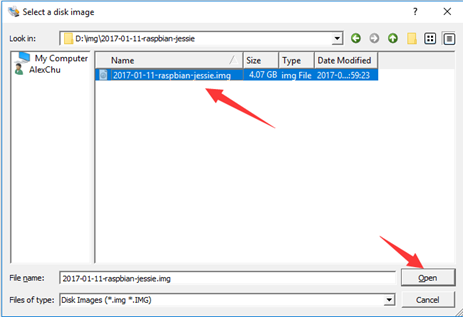
Extract Raspberry Pi image file that you have downloaded.

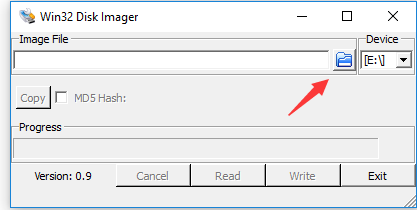
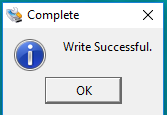
Next, run the Win32DiskImager, choose the img file you just extracted, then click “write”.
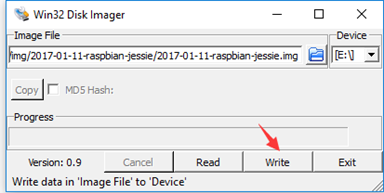
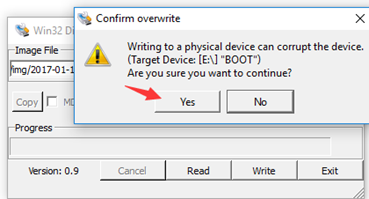

It will take approximately 5-8 minutes to complete. Don’t click “Cancel” or “Exit” during the writing process. (Go a make a coffee or something)
Now the Raspbian is ready in your SD card! Plug the SD card into the Raspberry Pi board.
Step 3) Connect to raspberry Pi.
Power the raspberry Pi on and plug in the ethernet cable, after about 1 minute later,
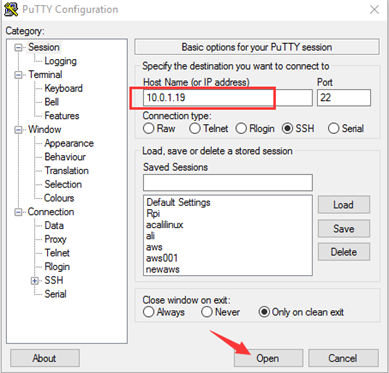
you can get the LAN IP address from your Router for raspberry Pi. Here I got my IP address as 10.0.1.19, you may find yours as 192.16.8.1.X, which means you need to use your own IP address in the following steps.

We will use the PuTTy to connect with Raspberry Pi. Type the RPi’s IP address here.
You may get this error “Network error: Connection refused”
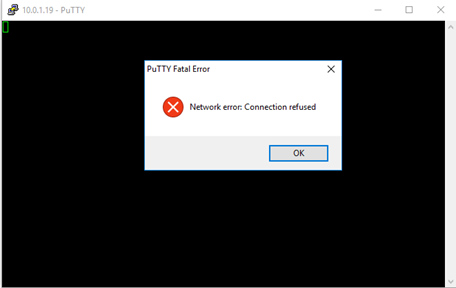
To fix the issue, you need to create a folder “ssh” in the boot. Now turn off the raspberry Pi board, and plug the MicroSD card to your computer.
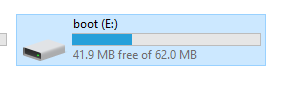
Create a new folder, then change the folder name to ssh.

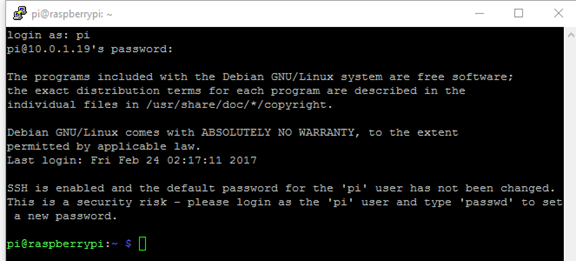
Plug the MicroSD card to raspberry pi board and power on. Try to use putty to connect again. Now you are requested to login.
The user login is “pi”, password is “raspberry”. You may find that there is no hint when you are inputting the password, that’s completely normal.


Now you are in. Feel free to use some commands to play with it.