


")
How to Install ESP32 Core Arduino IDE
The ESP32 development board is a nice MCU to have in your toolkit. Not only can it connect to the internet through both WiFi AND Bluetooth but it's also a more powerful MCU than Arduino UNO. However, for most Arduino fans, you can't just drop our beloved Arduino IDE. So don't! In this tutorial, you'll learn how to use this nifty little development board with the Arduino IDE.
There isn’t an official Arduino board manager installed, so you have to follow these steps to get started:
Before starting the installation you need to download the updated version of the CP210x USB to UART Bridge VCP Drivers. Go to this link and choose the right version for your OS.
https://www.silabs.com/products/development-tools/software/usb-to-uart-bridge-vcp-drivers
To start using the ESP32 with the Arduino IDE, you also need to install the ESP32 Arduino Core:
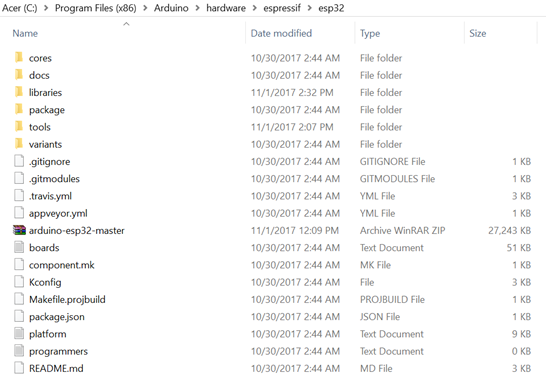
First download the core on GitHub: https://github.com/espressif/arduino-esp32
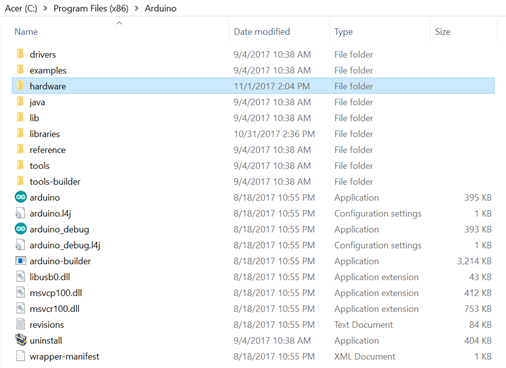
Then go to your Arduino Directory > hardware and create an espressif folder and a sub folder, esp32.
Afterwards, extract the zip file you previously downloaded into this folder.
Next, install the Xtensa code compiler for the ESP32:
You only need to navigate to the tools folder and right click on get.exe. Run it as administrator.
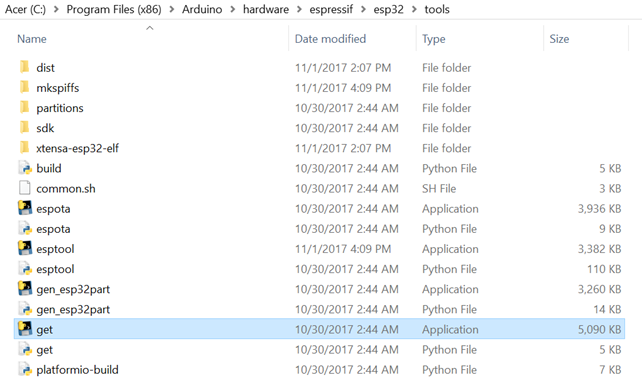
After the installation, the xtensa-esp32-elf folder should appear in the tools folder.
The ESP32 Arduino Core is now installed and you can now open your Arduino IDE.
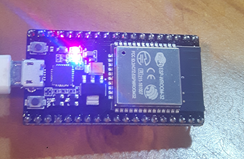
Plug the ESP32 into your computer using a micro USB cable. Then in your Arduino IDE navigate to Tools > Board > ESP32 Dev Module to select your board.

You can now upload a simple example code like the Blinking sketch to see if your board is working.
You just need to add the following line at the beginning of the sketch to make the on-board LED blink.
![]()
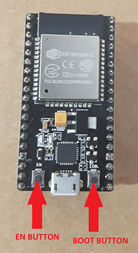
If the blue LED is off, you probably need to make your module go into uploading mode. To do that, hold the Boot button and press the EN button.
Some properties of the ESP32:
| Features | Ardunio UNO | ESP32 |
| Number of Cores | 1 | 2 |
| WiFi | No | Yes |
| Bluetooth | No | Yes |
| Architecture | 8 bit | 32 bit |
| RAM | 2KB | 512KB |
| Flash | 32KB | 16MB |
| CPU Frequency | 16MHz | 160MHz |
| GPIO PINs | 14 | 36 |
| BUSSES | SPI, I2C, UART | SPI,I2C,UART,I2S,CAN |
| ADC Pins | 6 | 18 |
| DAC Pins | 0 | 2 |
The ESP32 has a 2.3V to 3.6V operating voltage.
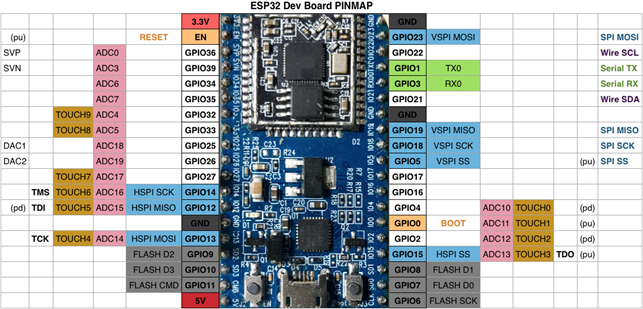
ESP32 PINMAP:
Now you've got your board and software set up, have at it! Let's see what you can create with this NodeMCU 32 Dev Board!
3 Comment(s)

Thank you for the wonderful instructions and write-up. I am just not able to get the ESP32 Dev Module option to show in the Arduino Tools>Board dropdown, after three re-installation attempts. I am using Win10 and everything appears to be the same as with your instructions. Any ideas are appreciated!

Magic! Just followed your instructions, works first time. Using Windows pc, a Geekworm Easy Kit ESP32 (which was at hand) with ESP32 Dev module as board - no led on 13 but just used DMM to test current. Thx for posting this. p.s. I shall now add your shop to my shortlist of suppliers, and have a browse around now.

For now there is no get.exe in Esp32 Core. Follow instructions in https://github.com/espressif/arduino-esp32#installation-instructions