


")

")
GPS Module Qwiic Guide
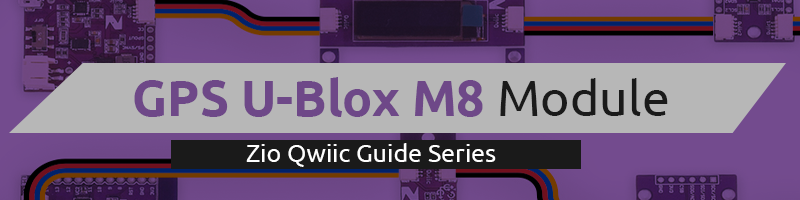
This post is part of our Zio Qwiic Start Guide Blog Series.
Table of Contents
- Introduction
- How GPS works
- Zio Qwiic GPS U-Blox M8 Module
- Specifications
- Board Overview
- Setup & Configuration
- Difficulty Level
- Hardware
- Software
- Schematics
- Code & Data Collection
1. Introduction
This guide shows how to use the Zio Qwiic GPS module with the Arduino IDE to get GPS data. GPS is the most interesting part for makers, with GPS, you can know where you are or state the location of the object that you are tracking.
1.1 How GPS works
GPS receivers actually work by figuring out how far they are from a number of satellites. They are pre-programmed to know where the GPS satellites are at any given time.
The satellites transmit information about their position and the current time in the form of radio signals towards the Earth. These signals identify the satellites and tell the receiver where they are located.
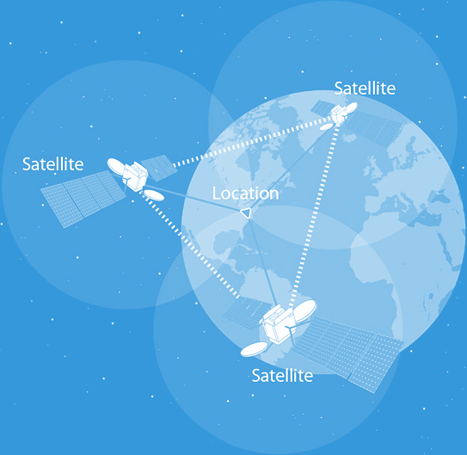
The receiver then calculates how far away each satellite is by figuring out how long it took for the signals to arrive. Once it has information on how far away at least three satellites are and where they are in space, it can pinpoint your location on Earth.
1.2 Zio Qwiic GPS U-Blox M8 Module
This is a high precision GPS module that includes a powerful NEO-M8N-0-10 module from u-blox.
The NEO-M8N module is based on the u-blox M8 GNSS (GPS, GLONASS, BeiDou, QZSS, SBAS, and Galileo-ready1) engine that provides high sensitivity and minimal acquisition times while maintaining low system power.
We use a SC16IS752IPW to convert the module’s data from UART to I2C (Qwiic connectors) so that you can use Qwiic cable to quickly connect the GPS module to any other Qwiic devices.
We also break out the UART port to a 1.27mm terminal connector, just in case you want to use UART port directly.
We’ve even included a rechargeable backup battery to help keep the latest module configuration and satellite data available for up to two weeks. This battery helps to ‘warm-start’ the module, decreasing the time-to-first-fix dramatically. It also features a survey-in mode allowing the module to become a base station and produce RTCM 3.x correction data (as opposed to the previous version of the module which is not able to produce RTCM data).
We also offer you a tested GPS antenna for the module, you can just plug it into the IPX connector on the board. The antenna is required when you get it running.
Note: The antenna needs to face towards the top.
1.3 Specification
- Voltage: 3.3V
- Horizontal position accuracy: 2.5 m
- Heading accuracy: 0.3 degrees
- Velocity accuracy: 0.05 m/s
- Time-To-First-Fix: 27 - 30s (cold), 1s (hot)
- Interface: I2C and UART
- IC:SC16IS752
- address: 0x4D, 0x4C, 0x49, 0x48 (Default: 0x4D)
- Dimension: 35.5 x 35.8mm
- Weight: 7.8g
2. Board Overview
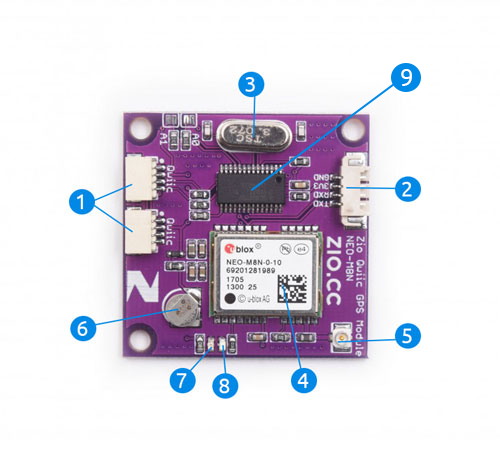
- Qwiic Connector
- UART Port - Use 1.27mm terminal connector if you are not using Qwiic system
- ..
- U-Blox M8 GNSS Engine - Supported GNSS Constellations: GPS, GLONASS, BeiDou, Galileo
- U.FL Connector to connect to a Patch GPS Antennae
- Rechargeable Button Battery
- Power LED - Shows whether the GPS Module is working or not (Switched ON/Off)
- Position Fix LED Indicator - This LED indicates the status of Position Fix. It’ll blink at various rates depending on what state it’s in.
- SC16IS752IPW Converter - Converts UART to I2C (for qwiic)
3. Setup & Configuration
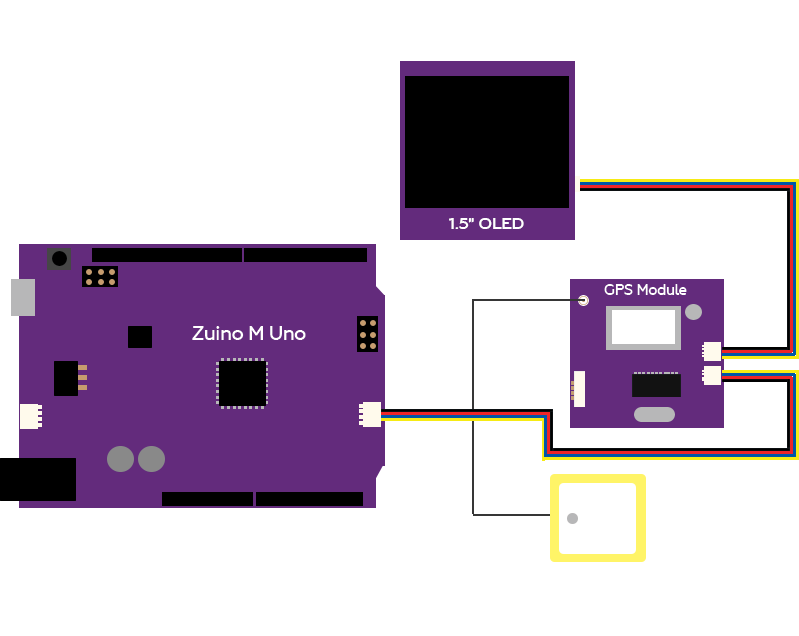
With the qwiic connectors installed with the GPS module, configuring and setup of this module with other qwiic modules is pretty much straight forward. No complicated wiring needed, just qwiic connect the modules together.
3.1 Difficulty Level
Zio Youngling
3.2 Hardware
- Zuino M Uno
- Zio Qwiic U-Blox M8 GPS Module
- Patch GPS Antennae (comes with Zio GPS Module)
3.3 Software
- Arduino IDE
- Arduino Parser Ublox Neo M8N
4. Schematic
5. Code & Data Collection
Download the demo code needed to test your GPS module.
You can find the source code of the demo below:
Upload the code to your board and run it.
Got questions or suggestions? Or just want to greet us? Drop us a comment below!