


")
Blynk Your Zio Qwiic Start Guide
This post is part of our Blynk Your Zio and Zio Qwiic Start Guide blog Series
Introduction
Blynk is a Platform with iOS and Android apps to control IoT compatible hardware and modules over the Internet. It's a digital dashboard where you can build a graphic interface for your project by simply dragging and dropping widgets. It's really simple to set everything up and you'll start tinkering in less than 5 mins.
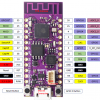
This guide will show you how to set up Zio’s IoT development board - Zuino XS PsyFi32 to work with Blynk so you can create an IoT device and an App to go with it too!
Configuration
Difficulty Level:
Helpful Resources:
You should have a basic understanding of how to install Zio development boards. In this tutorial, we assume that your development board is already configured and is ready to be set up with Blynk. If you haven’t configured your board yet check out our development boards Qwiic Start Guide tutorial first:
Zio Zuino PsyFi32 Qwiic Start Guide
How to start with PsyFi32 (Windows Tutorial)
Hardware:
Software:
1. Setting Up Blynk for PsyFi32
Step 1 Download Blynk App to your phone
You need to download the Blynk app for this project.
Download according to your mobile phone’s operating system
Step 2 Install Blynk library
You need to manually install the library to your Arduino folder.
Download the latest release .zip file.
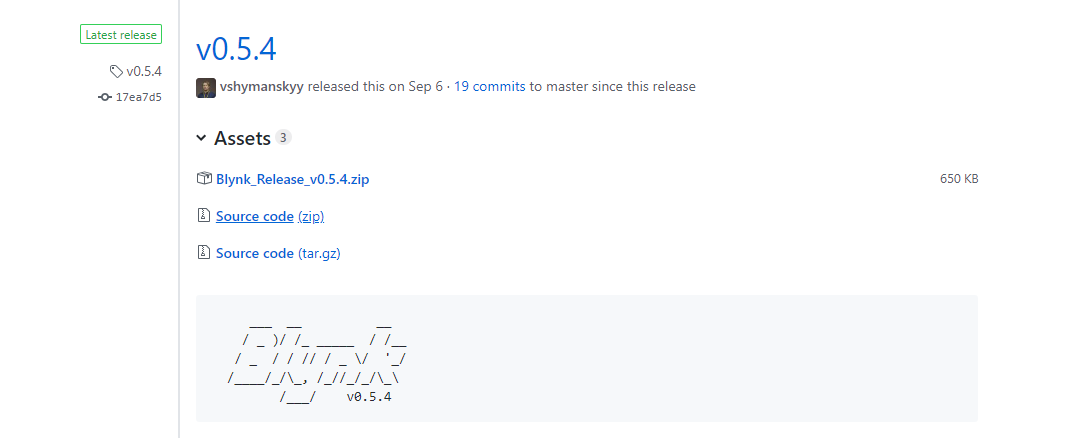
Unzip it. You will notice that the archive contains several folders and several libraries.
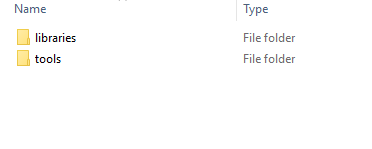
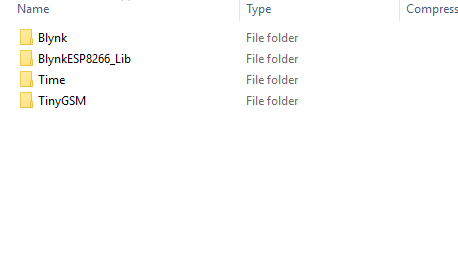
Inside Blynk's libraries folders:
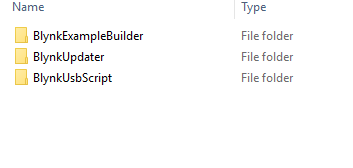
Inside the Blynk's tools folders:
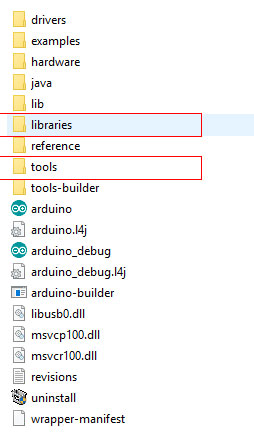
Copy all these libraries to your_sketchbook_folder of Arduino IDE.
To find the location of your_sketchbook_folder, go to top menu in Arduino IDE: File -> Preferences (if you are using Mac OS - go to Arduino → Preferences)
The structure of your your_sketchbook_folder should now look like this, along with your other sketches (if you have them):
your_sketchbook_folder/libraries/Blynk
your_sketchbook_folder/libraries/BlynkESP8266_Lib
...
your_sketchbook_folder/tools/BlynkUpdater
your_sketchbook_folder/tools/BlynkUsbScript
...
Note that libraries should go to libraries and tools to tools. If you don't have tools folder you can create it by yourself.
Step 3 Set your Blynk App
Open the Blynk App and create a new project. Name your project and select the board as ESP32 Dev Board with connection type WIFI.
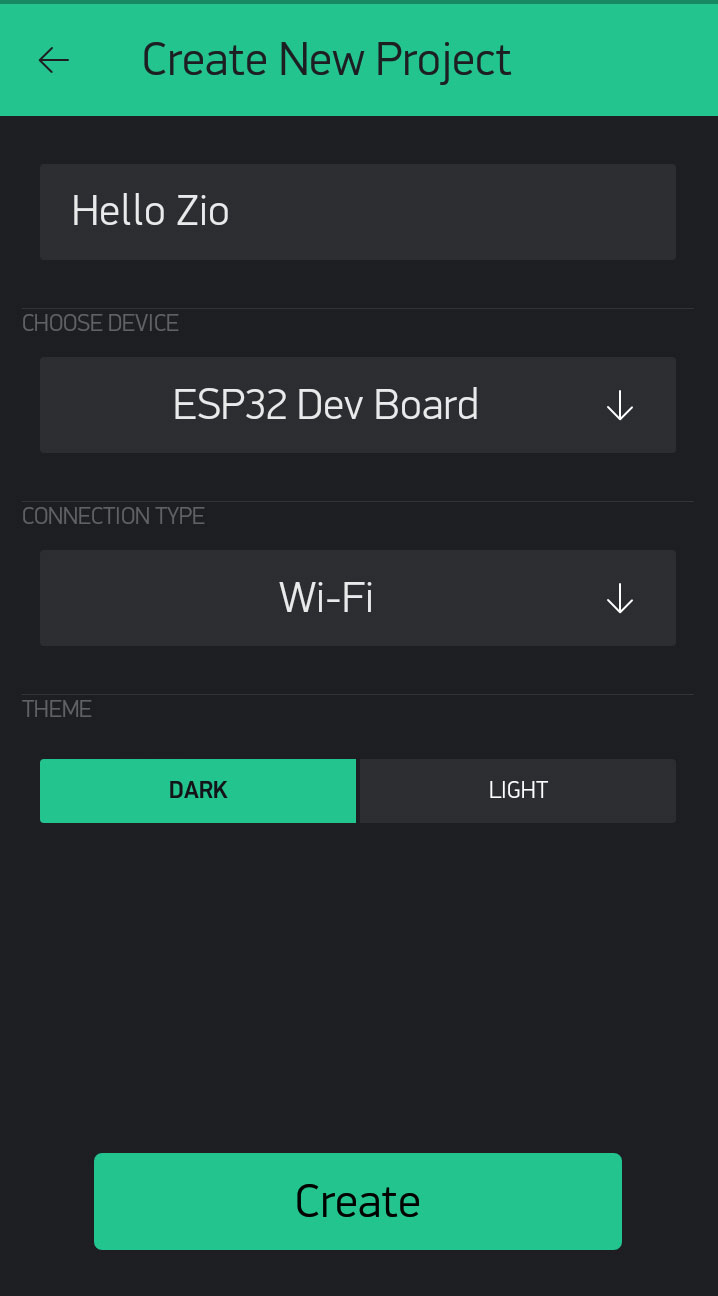
Once you created your project you will receive an Auth token.

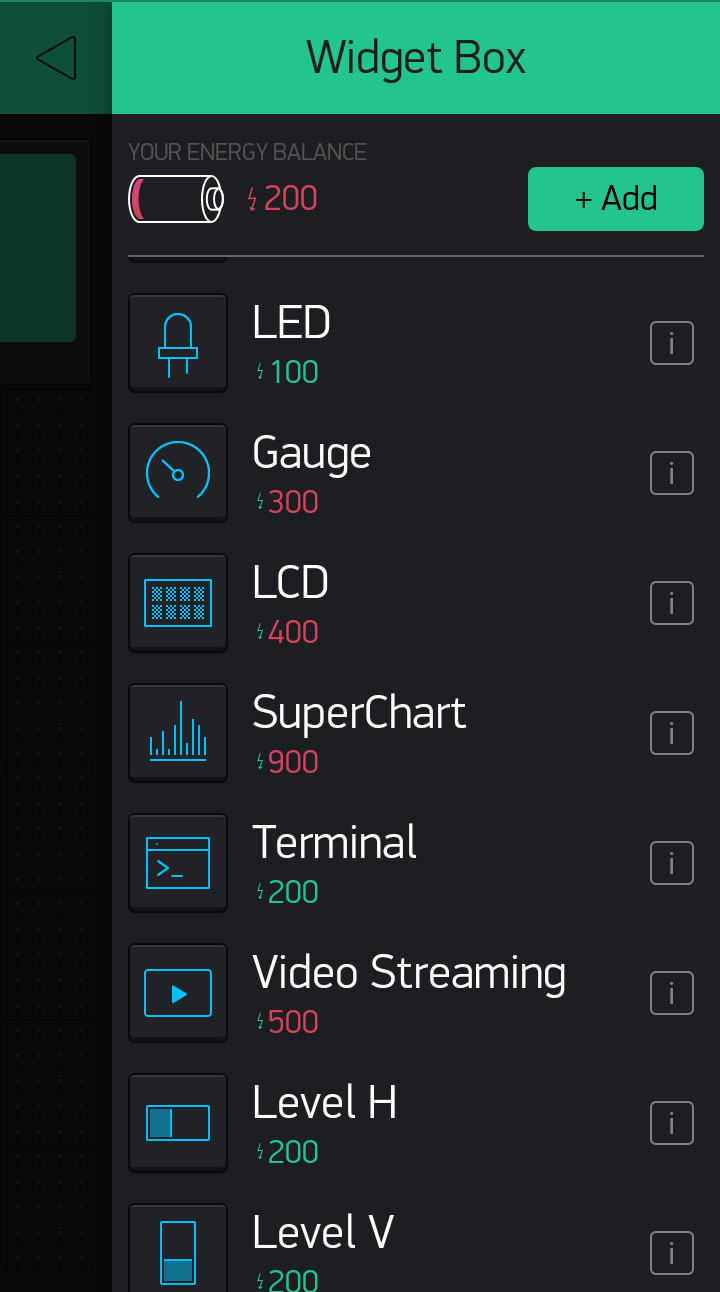
Click on the widget box and add a LCD to your project.
Select Advanced mode and set the pin to V1.
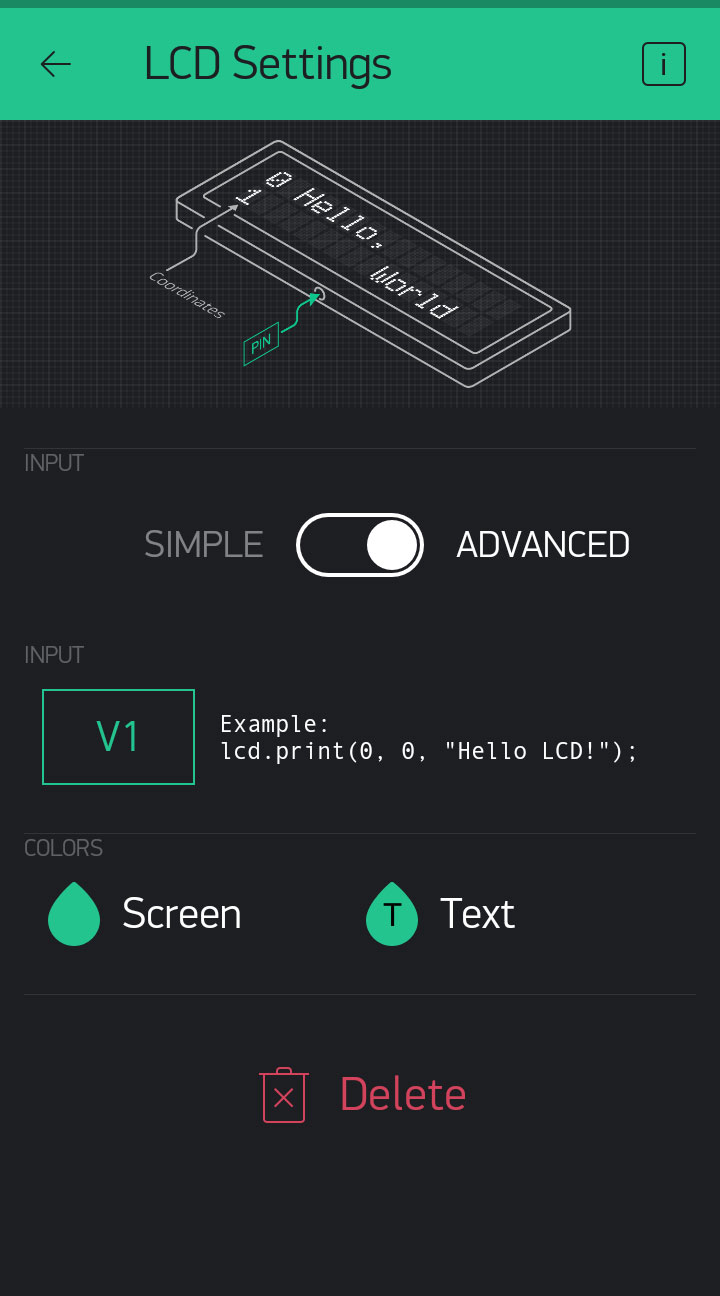
Run your app by clicking the arrow button.
Step 4 Download our Hello Zio Blynk code
Download the Blynk Hello Zio code here.
Open the code and make changes to the following section:
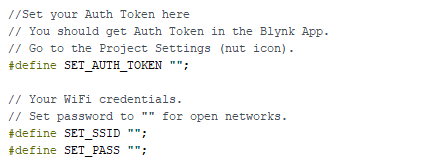
You need to open your email and copy the Auth token and paste it in the code.
Step 5 Flash your code
Flash your code in the Arduino IDE to your Zuino XS PsyFi32 board and check your Blynk app. Your Project app should show the following display:
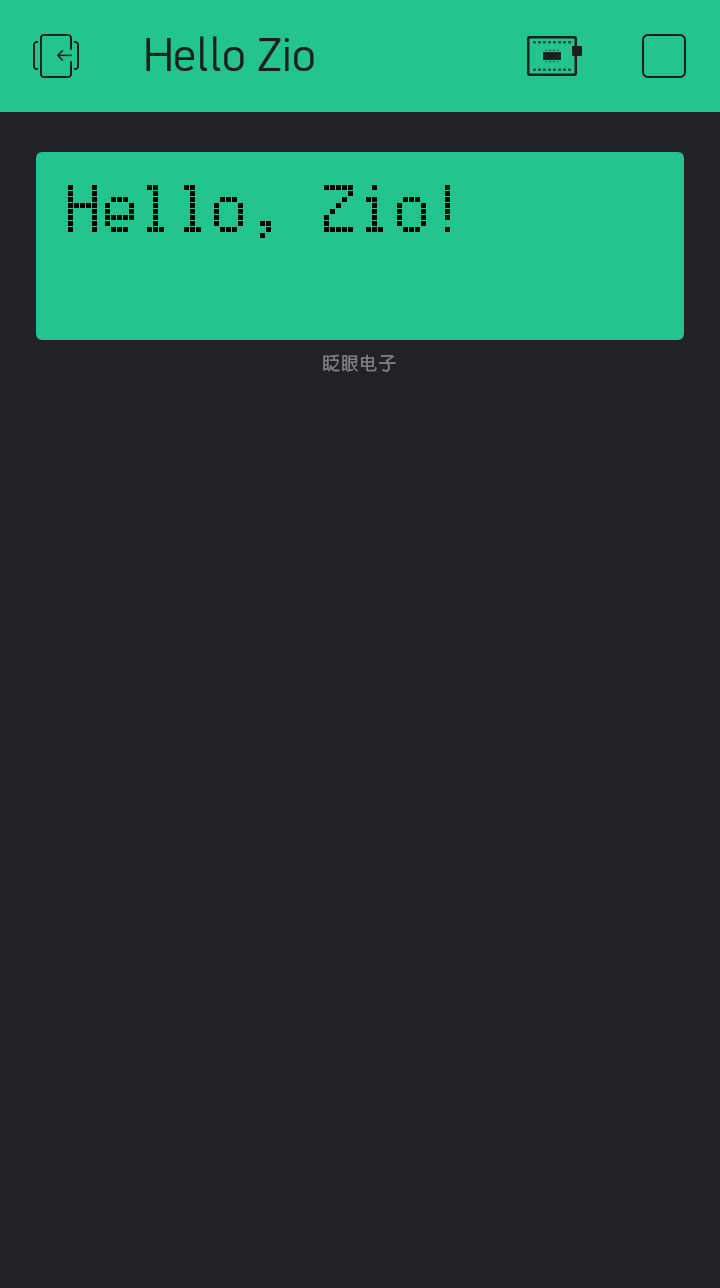
And that’s it!
Congratulations! You now have created an IoT device!
Below is the full code for your Arduino:
We have created a template for you to easily connect your Zio PsyFi32 development board and other Zio modules (or non-Zio modules) to send data to your Blynk app. You can get them here.
You will be able to connect your board with your Blynk app and display data collected from your device to your app.
You only need to change the Auth token, add your WiFi settings and insert your own code in the loop section and you are good to go!
In the meantime check out our other awesome and cool Zio projects to give you that qwiic inspiration!