


")
")
")
")

")
#TinkerTuesday: Plant Hydration Kit
“We are in a brave new world where not only do our children talk back to us, but so do our appliances.” – Mohammed Dastagir, VP and CTO for Sears Home Services.
It was on a Friday, and my calendar reminded me that I have an appointment.
“Watering Plants 17:30 PM.”
Okay, it’s time to get up from my desk, grab a watering tank, walk to the restroom, fill the tank with water, walk back to my desk, and water the plant next to it.
I didn’t do any of the above, not because I am lazy (well maybe a little *guilty*) it’s just that the process of doing so is taking my precious work time. Instead I just sat on my desk and continued doing work.
Why am I killing my plant you ask?
Technically, I am not.
Surprised?
Cause I have a device that automagically waters my plant when it’s thirsty. (THANK GOD!) Pretty handy isn’t it?
So for today’s #TinkerTuesday, we will be building ourselves that automagic device system using *drumrolls*
wait for it….
tadaaaaaa … our very own Zio Plant Hydration Kit.
Let’s get tinkering!
Objective:
This project will guide you in setting up Zio Plant Hydration Kit. By the end of this tutorial, you will have a running device that intelligently detects your plant’s soil moisture condition, as well as giving your plant the H2O boost it needs!
Difficulty:
Helpful Resources:
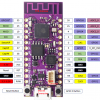
This tutorial assumes you already know how to set up Zuino XS PsyFi32 development board. If you haven’t we have some helpful guides below for your reference or as a refresher:
- Zio Zuino PsyFi32 Qwiic Start Guide
- How to start with PsyFi32 (Windows tutorial)
- Zio Soil Moisture Sensor Qwiic Start Guide
Unboxing your Kit
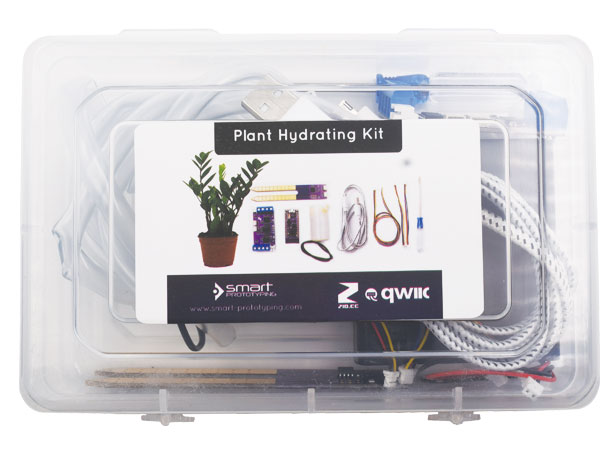
The exciting part of having a kit is unboxing it! Yeay~
Let’s uncover what is in this box of wonders!
Don't have the kit yet? Purchase it here!

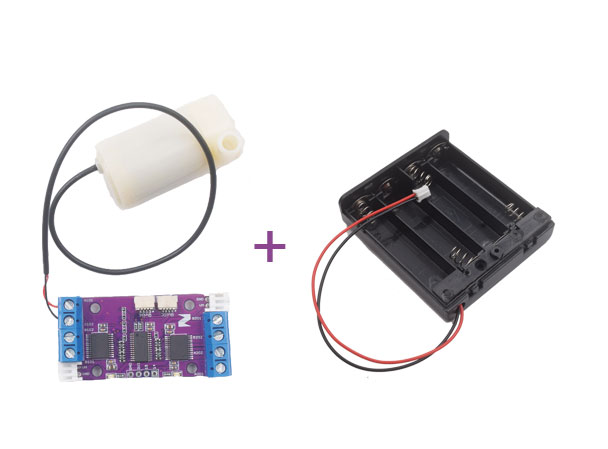
The kit includes :
Screwdriver
Battery Holder (Battery not included)
I know some of you can’t wait to set it up so just follow the instructions below to start building!
Setting up
Make sure you already have the following items ready:
Hardware:
Software:
Other items:
Plant
AA Battery x 4
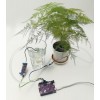
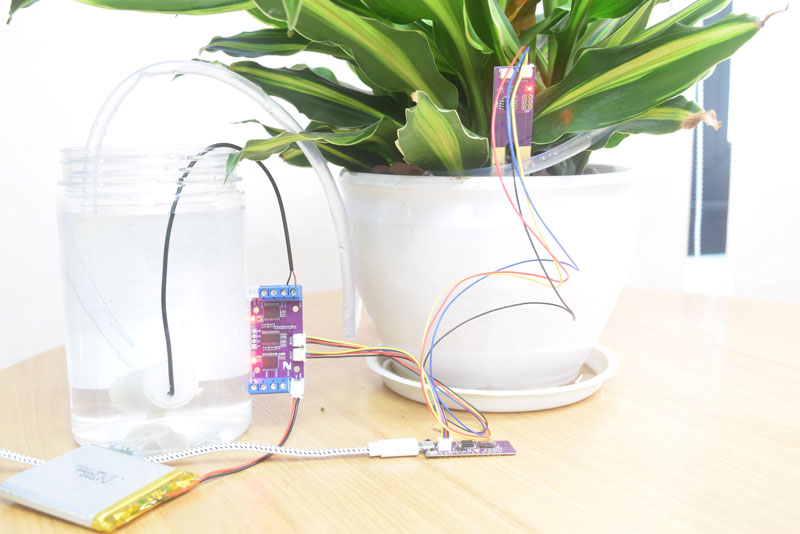
Connect all the components together
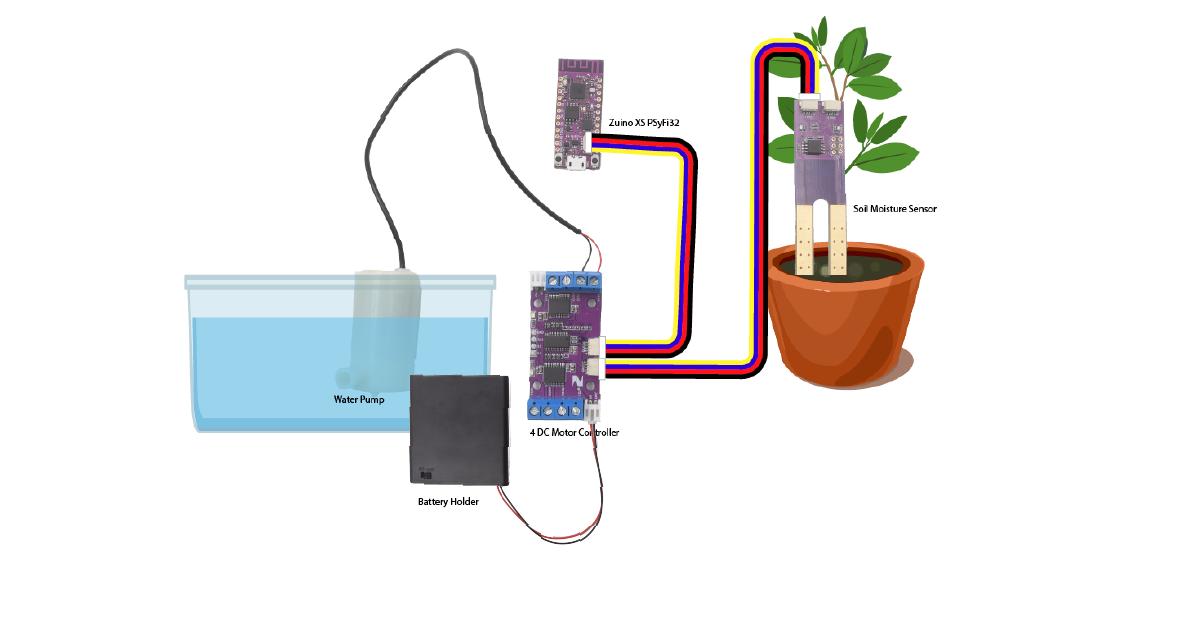
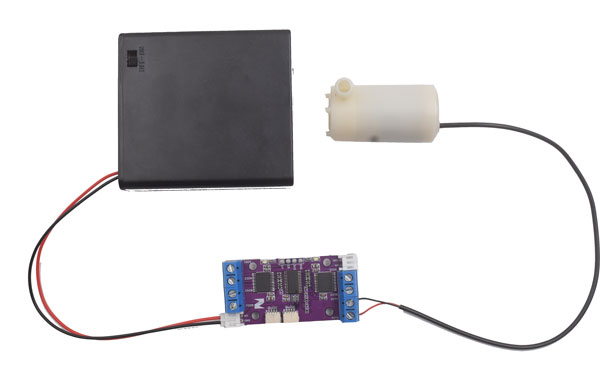
The diagram below is what the setup will look like after you connect all the components together and set up your watering plant system.
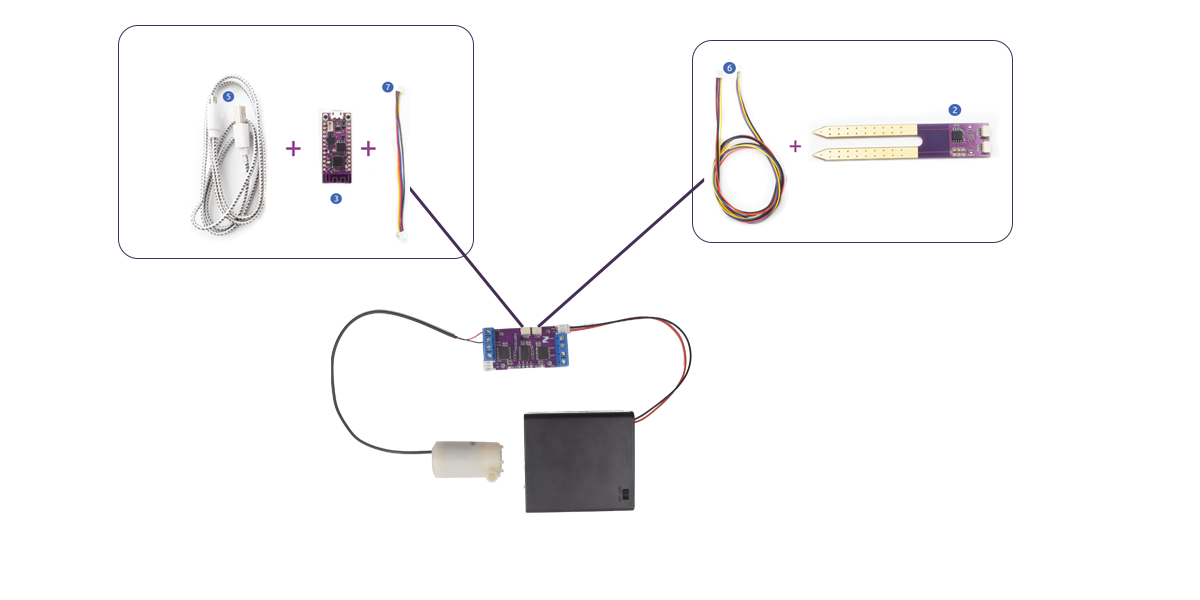
Step 1 Connect  PsyFi32 and
  Soil Moisture sensor,
  Motor and
  Water pump, and Battery Holder together
How to set up your ![]() Motor,
Motor, ![]() Water pump and Battery Holder
Water pump and Battery Holder
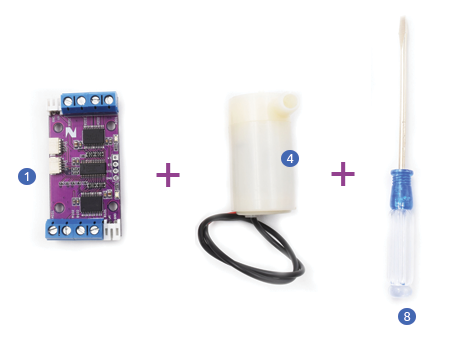
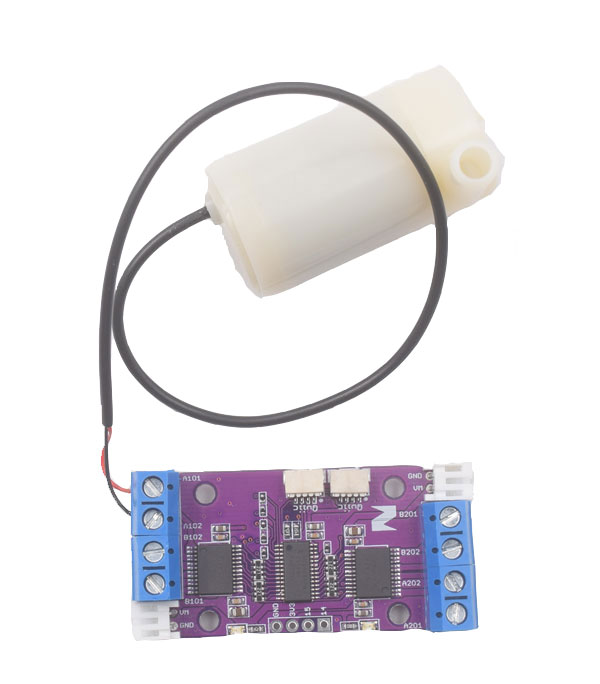
Take the Zio DC Motor Controller and connect it with the water pump. You need a screwdriver to connect this two modules together.
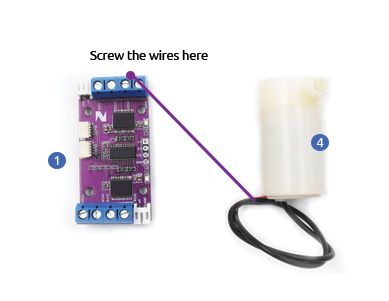
Your set up will look like this:
To make the motor controller work, you need to supply power to it. Connect the battery holder to the motor controller.
Your connection will be as follows:
Step 2 Upload code
In your Arduino IDE, open the Plant Hydration kit firmware.
You can leave the code as is and just use the default values. By default, the values set for DRY, WET and NORMAL are 650, 250 and 500 respectively.
//Set your moisture level here
uint16_t DRY= 650;
uint16_t WET= 250;
uint16_t NORMAL= 500;
You can make changes on the time taken needed to water your plant again and also the time needed to reconfirm the value when your sensor checks for moisture according to your needs. Or you can just use the default settings.
//Set the time needed to check moisture to water your plant again
uint16_t DELAY= 3600000;//1 hour in milliseconds interval
//set the time needed for your sensor to confirm the value again
uint16_t CONFIRM= 60000;//1 minutes in milliseconds interval
After you make the necessary changes click upload.
You can check out this guide on how to check basic readings.
Open Serial monitor (Make sure it is at 9600 baud)
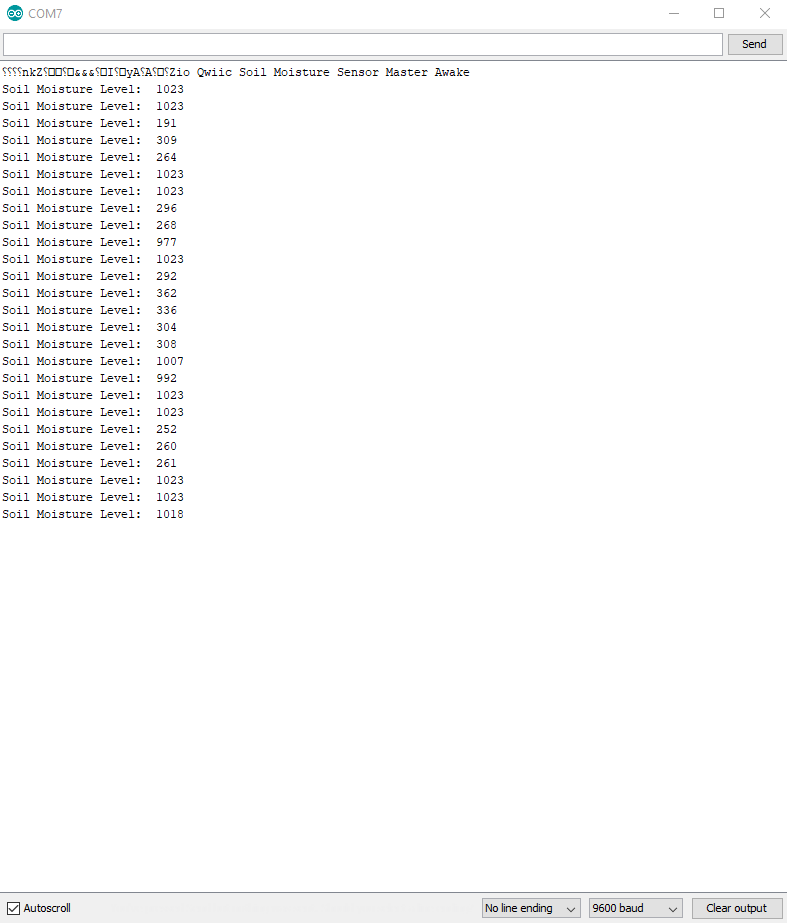
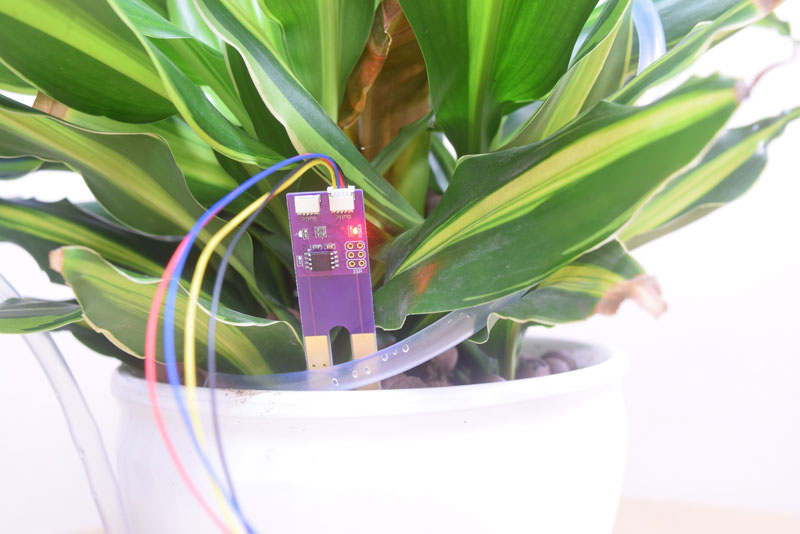
Insert your sensor to the soil and collect the readings for when your soil is Dry, Wet and Normal. (You need it to calibrate your soil and input this value in the code later).
Set your moisture level for DRY and WET.
Dry Soil
The sensor will try to reconfirm that your soil is dry, it will detect that your plant needs the water boost, and send this info to PsyFi32. It will program the DC Motor to pump water to your plant. Your sensors LED will light up.
Wet Soil
When your soil is wet, the sensor will detect that your plant is sufficiently hydrated so will not need the H2O boost. The Green LED will not light up.
If you already know your soil moisture rate you can skip this part and just input the code.
Make changes to the following code:
/******YOU CAN MAKE CHANGES HERE**************************/
//Set your moisture level here
uint16_t DRY= 650;
uint16_t WET= 250;
uint16_t NORMAL= 500;
//Set the time needed to check moisture to water your plant again
uint16_t DELAY= 3600000;//1 hour in milliseconds interval
//set the time needed for your sensor to reconfirm the value
uint16_t CONFIRM= 60000;//1 minutes in milliseconds interval
// our servo # counter
uint16_t pulselen = 4000;
/***********END TO MAKING CHANGES**********************/
After you make the necessary changes click upload.
Step 3 Supply Power!
Insert the sensor probe into your plant's soil. Supply your battery holder with Standard Alkaline batteries and switch it on to power your motor pump. Connect your PsyFi32 to a power source (in this tutorial we use a Portable USB charger) and click the reset button.
Your Plant Hydration Kit is now all set up! Now you have your very own automated water plant system to be used at home, office or even school! Hooray~
For our next tutorial, we will set up our Plant Hydration kit with a cloud server to record your plant’s data and watering record. In the meantime, do check out our other awesome and cool Zio projects to give you that qwiic inspiration!
