


")

")
Zio Gesture Sensor Qwiic Start Guide
21/02/2019

This post is part of our Zio Qwiic Start Guide Blog Series.
Table Of Contents
Introduction
Gesture sensor PAJ7620U2 can be found in applications that require a gesture recognition function or proximity detection. The I2C interface of this IC can detect gesture/cursor mode. With low power consumption
Zio Qwiic Gesture Sensor Overview
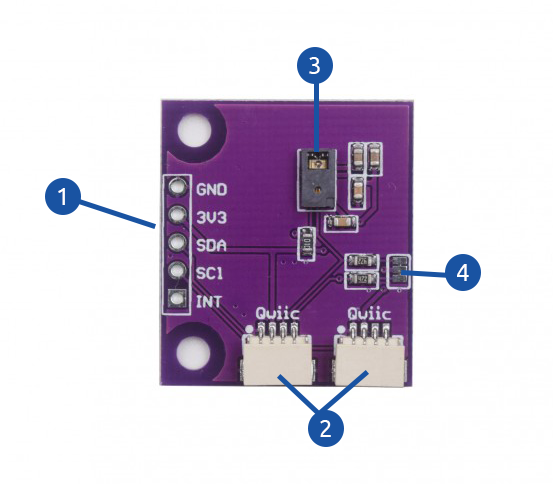
1. Power and Logic Pins
- GND - Ground Pin
- 3V3 - 3.3V Supply Pin
- SDA - Signal Data I/O Pin
- SCL - Signal Clock Input Pin
- INT - Interrupt Output Pin (Active Low)
2. Qwiic Connectors
3. Gesture Sensor PAJ7620U2 IC: Sensor with 9 gesture recognition function
4. I2C Pullup resistors (JP1)
Configuring your Zio Qwiic Gesture Sensor
Difficulty Level:
Helpful resources:
You should have a basic understanding of how to install Zio development boards. In this tutorial, we assume that your development board is already configured and is ready to be set up with our Gesture Sensor. If you haven’t configured your board yet check out our development boards Qwiic Start Guide tutorial below to get started:
Hardware:
Software:
Setting Up and Demo Code
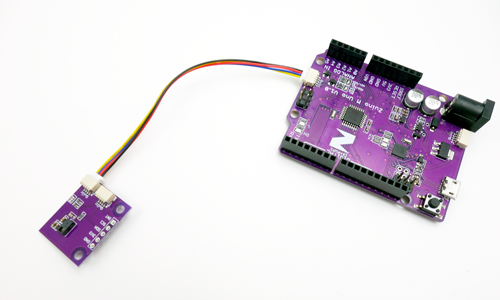
Step 1 Connect Zio development board with Zio Gesture Sensor
Setting up Zio Gesture Sensor with Zio Development boards is easy thanks to the Qwiic connector system installed with the boards. There is no complication in wiring mistakes as you only need Qwiic cables to daisy chain them together and you're all set to code your sensor.
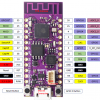
Setup with Zuino M Uno
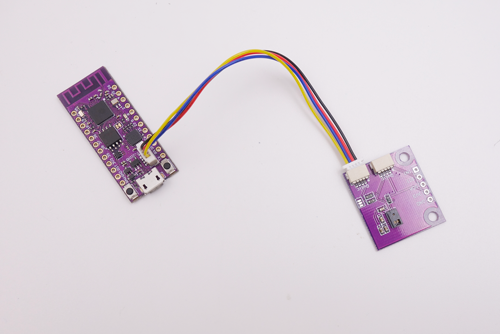
Setup with Zuino PsyFi32
Step 2 Install library
You need to install the following libraries to your Arduino IDE before you can start testing your Gesture Sensor.
Download the following libraries and save it on your local Arduino IDE libraries folder:
To install the libraries open your Arduino IDE, go to Sketch tab, select Include Library -> Add .Zip Library. Select the above libraries to be included on your IDE.
Step 3 Upload Demo code
The following examples work with our Zio development boards. Just select the right board and port from the Arduino IDE platform.
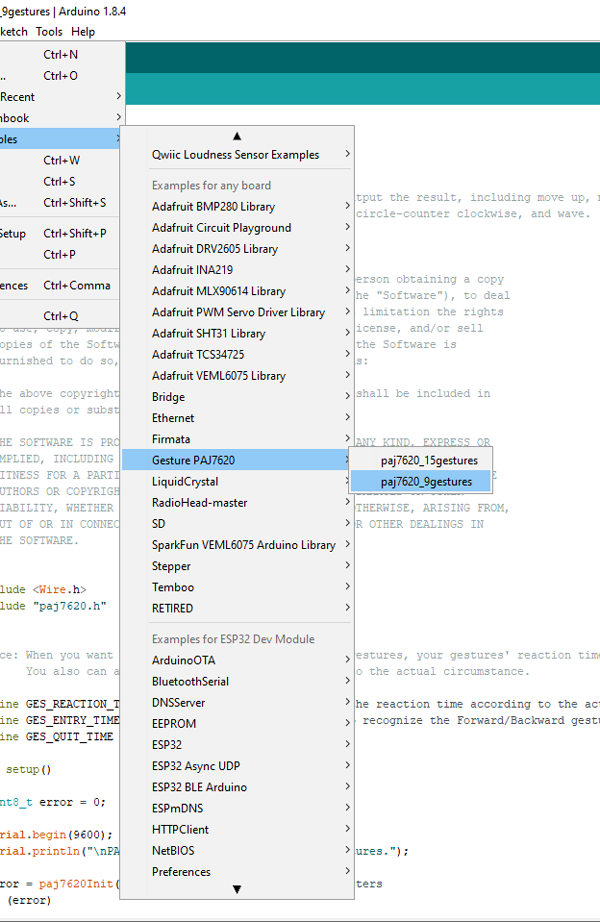
In your Arduino IDE, Go to File > Examples > Gesture PAJ7620 > paj7620_9gestures
Upload your code and open the serial editor to view your results.
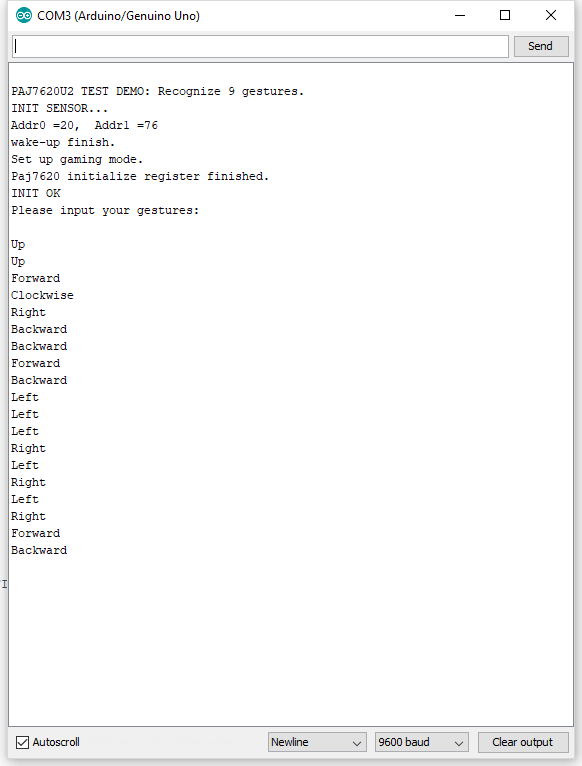
The Serial Monitor above displays the gesture movements from the Gesture Sensor itself. When you wave your hand the type of gesture you make will be displayed or printed on the monitor. Example waving your hand to the Right will display "Right" on the serial monitor.
Got questions or suggestions? Or just want to greet us? Drop us a comment below!