


")

")
")
Zio Haptic Driver + LRA Motor Qwiic Start Guide
This post is part of our Zio Qwiic Start Guide Blog Series.
Table of Contents
- Overview
- Configuring your Haptic Motor Controller
- Connection Setup
- Setup for Y-Axis
- Setup for Z-Axis
- Testing Example Codes
- Basic Test
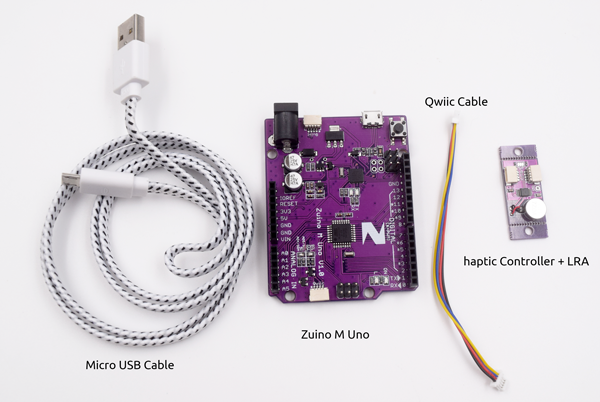
Zio Qwiic Haptic Motor Controller + LRA Motor Overview
1.Y-Axis
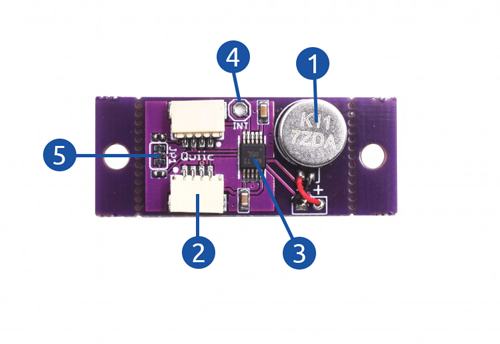
- Y-Axis Linear Resonance Actuator (LRA) Motor
- Qwiic Connectors
- Haptic Driver - DRV2605L
- INT (Interrupt) Pin
- I2C Pullup Resistors
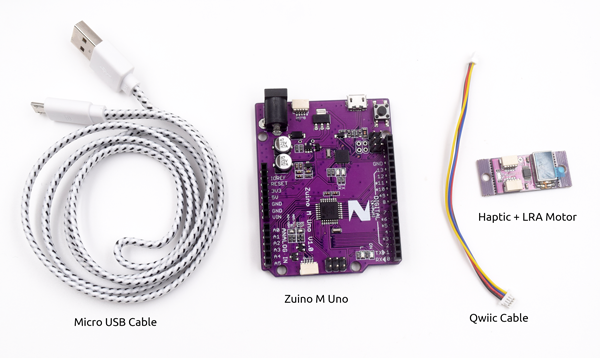
2.Z-Axis
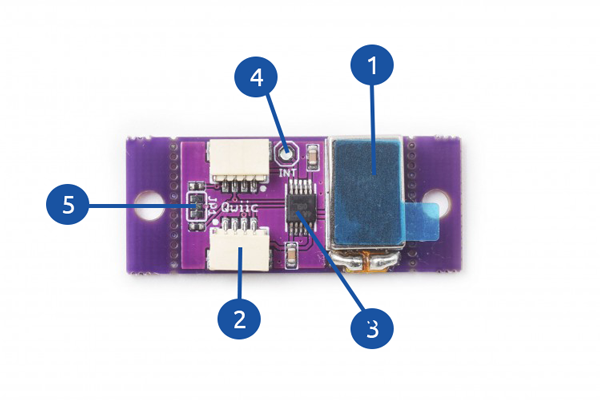
- Z-Axis Linear Resonance Actuator (LRA) Rectangular Motor
- Qwiic Connectors
- Haptic Driver - DRV2605L
- INT (Interrupt) Pin
- I2C Pullup Resistors
Configuring your Haptic Motor Controller + LRA Motor
Difficulty Level:
Helpful Resources:
This qwiic guide has a separate post on our development board guides. Check them out below:
Zuino M Uno Qwiic Start Guide
Zuino XS PsyFi32 Qwiic Start Guide
Installing Libraries
You need to install the following libraries to your Arduino IDE before you can start programming your Zuino board with Zio Qwiic Haptic Motor Controller + LRA Motor.
Download the following libraries and save it on your local Arduino IDE libraries folder:
To install the libraries open your Arduino IDE, go to Sketch tab, select Include Library -> Add .Zip Library. Select the above libraries to be included on your IDE.
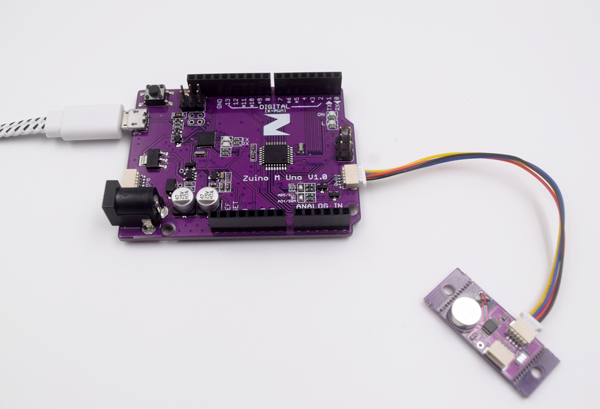
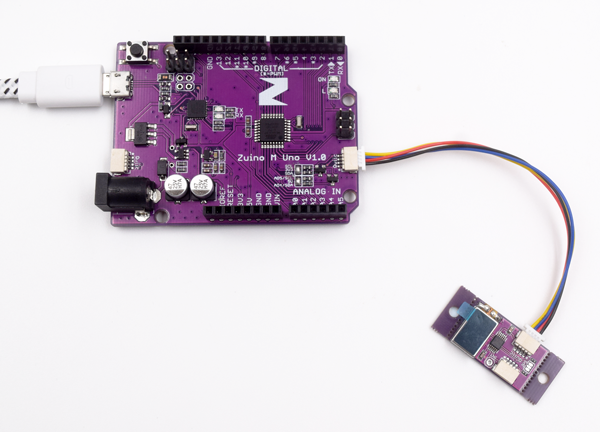
Connection Set up
Setup for Haptic Controller + LRA Motor (Y-Axis)
Setup for Haptic Controller + LRA Motor (Z-Axis)
Testing Example Codes
The following example codes work for both Y-Axis and Z-Axis Zio Qwiic Haptic Controller + LRA Motor as both using the same haptic driver DRV2605 and share the same I2C address.
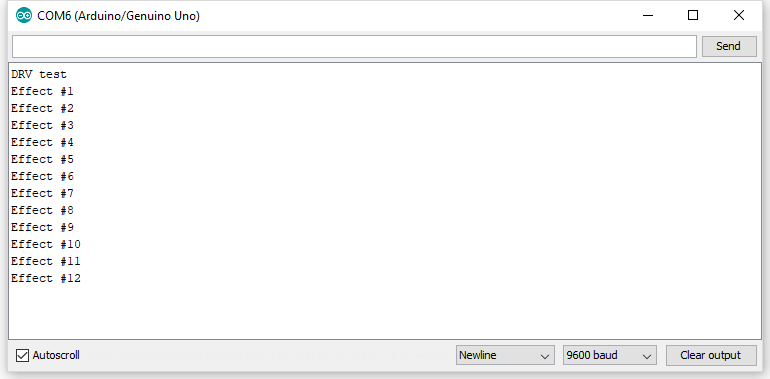
1.Basic test
Open your Arduino
Go to File > Examples > Adafruit DRV2605 Library > basic
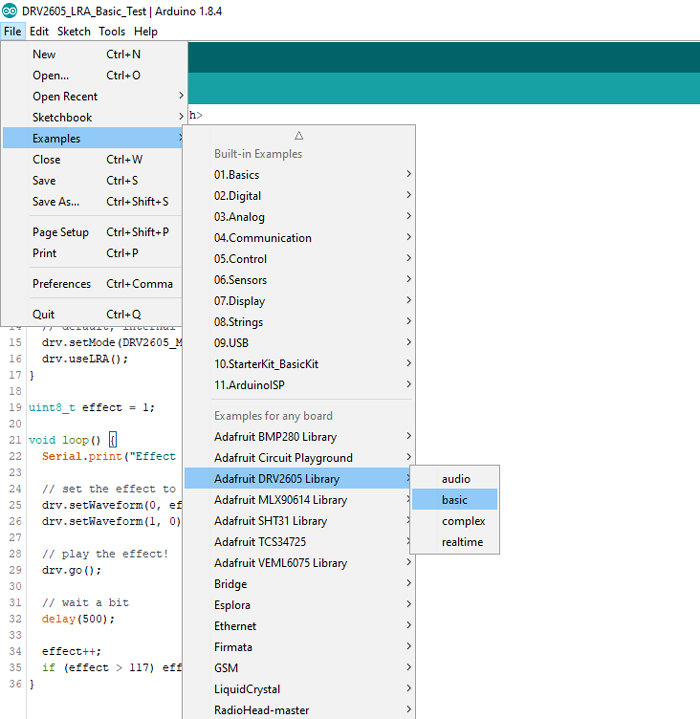
Open Serial editor to view the results