


How to Generate Gerber File in Eagle 9.2
This tutorial is part of our PCB Design Blog Series.
Introduction
This guide is a walkthrough on how to generate your Gerber File using Smart Prototyping updated Predefined CAM job file compatible for EAGLE 9.2 version.
This tutorial will not show you how to design your board.
We assumed that you already have a PCB board design ready to be fabricated. To produce this PCB fabrication, PCB manufacturers needed your PCB Gerber file for the production of your PCBs.
How to generate your Gerber File
Step 1 Download Predefined CAM Job File
Go to PCB Prototyping page. Scroll down until you see the tab “SPECS, DRC, PRODUCTION CAPABILITY”.
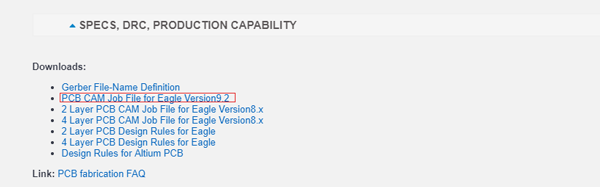
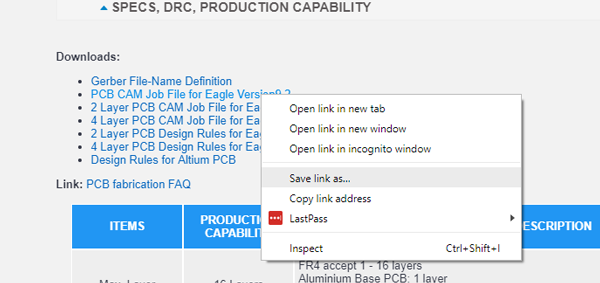
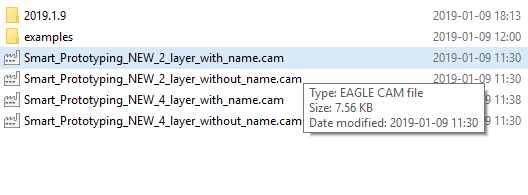
Right-click and download the right CAM Job File for your PCB.
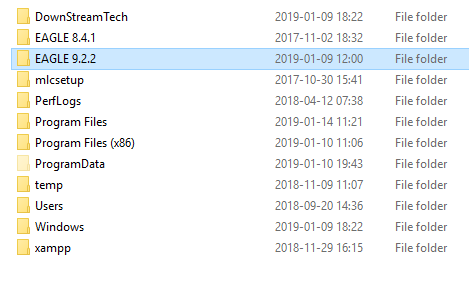
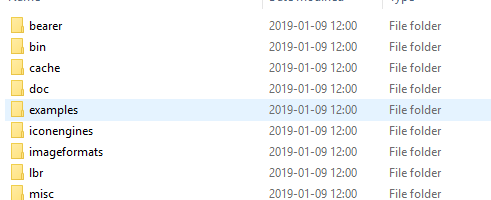
Step 2 Save this file on your EAGLE cam directory.
Extract the file to the cam directory of your EAGLE ‘example’ folder.
Step 3 Open the CAM processor
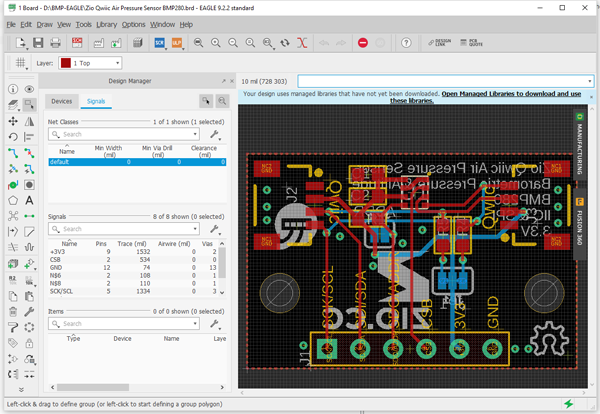
In Eagle, open Board view. For this example, we use our Zio Qwiic Air Pressure Sensor board file.
![]()
Click the “CAM” button or choose “File->CAM Processor”. This will open the CAM Processor tool that is used to generate the files.

Step 4 Open downloaded Cam Job File
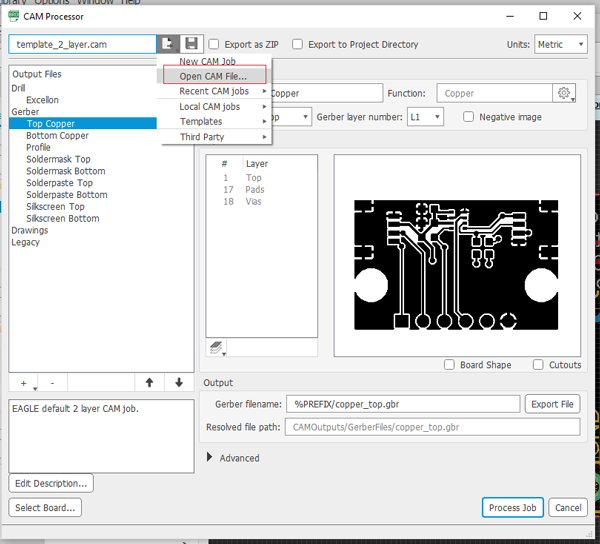
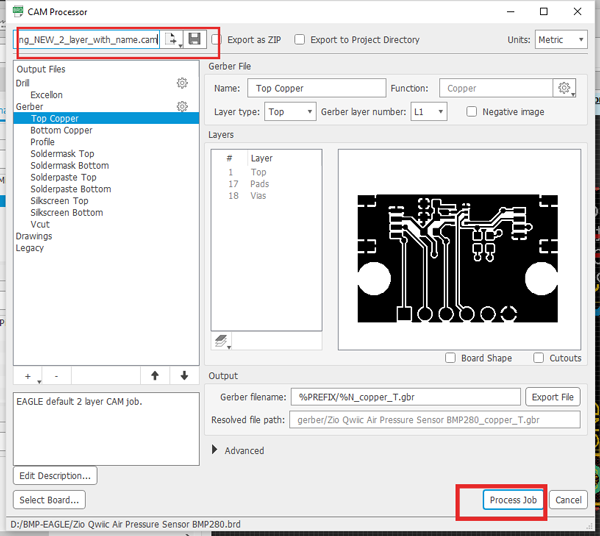
Browse and select the CAM Job file that you have just extracted in the folder you have saved earlier. This will be under Eagle 9.2.2 > examples > cam directory folder. Select the right CAM Job layer.
Step 5 Process Job file
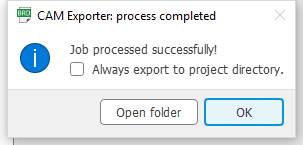
Once the selected CAM Job file is selected. Click Process Job button.
Saved the Gerber file in your folder. Your Gerber file will be successfully exported and created and you can view them in the folder you have chosen.
Step 6. Zip the Gerber file and upload to Smart Prototyping
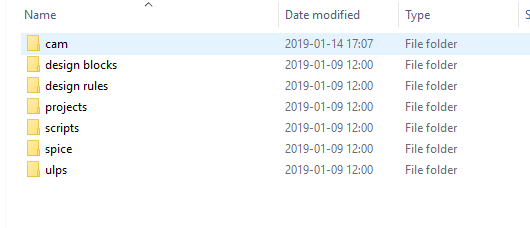
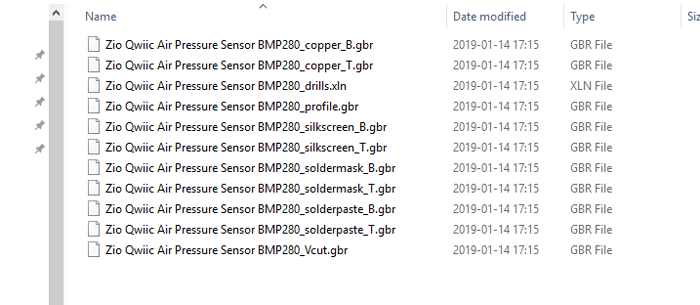
Browse to the folder you have saved the Gerber files. By default, it is called ‘Gerber’ folder
You should now have the following files as shown below (Names of the file is based on your board. In this tutorial, we use our Zio Qwiic Air pressure sensor as an example):
Rename the folder and compressed it in a .zip file.
Go to the PCB prototyping site again. Upload the compressed Gerber file to smart-prototyping page for PCB prototyping order submission.
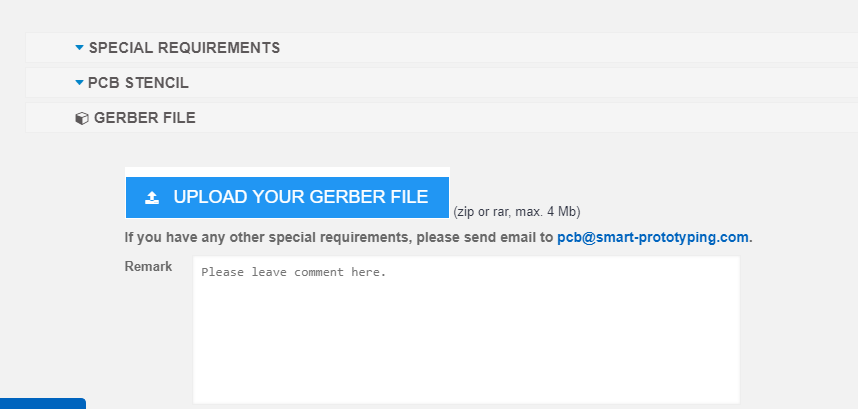
And there you go. You’re all set to prototype your PCB!
For more information on PCB prototyping, do check out our FAQ page here.