


How to Project an Image on the Zio E-Ink Display
Here we are going to learn how to use ZIO E-INK DISPLAY which can imitate the look of normal ink on paper. There are four different sizes of E-ink display module we are offering, but you don’t really need to learn four different ways to use them, all the connections are the same, and you just need to use different libraries to drive them. We will use a Zuino to help us show the information we want on the display.

Being able to display price tags or the name of a storage box is pretty easy with the example code included and hooking up to the Zuino to upload the image or text.
The E-Ink Display utilizes micro capsules that are suspended in a liquid which contain positively charged white pigments and negatively charged black pigments. There is also a model that includes a third colour, red. On each side of the display there are electrodes which can change their polarity, thus moving the pigments around to form texts or an image. Even if the Zuino is detached from the display, the image will remain on.
So let’s see what you’re going to need:
Hardware:
- Zio E-Ink display (2.9 in. 296 x 128/ 2.13 in. 250 x 122/ 1.54 in. 200 x 200)
- Zuino M Uno
- Male to female jumper wires
- Micro usb to usb cable
Firmware:
- Arduino IDE
- Example Code
- GxEPD.h Library
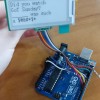
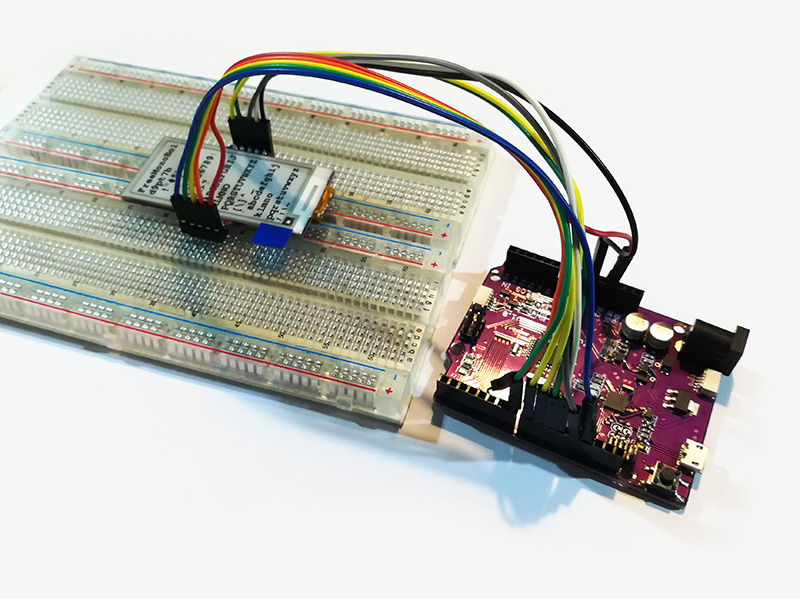
Step 1: Hook up the Hardware
Here are the connections you’ll need to make from the display to the Zuino:
| Zuino M UNO | Zio E-ink Display (4 models) |
| D7 | BUSY |
| D9 | RES |
| D8 | D/C |
| D10 | CS |
| D13 | SCK |
| D11 | MOSI |
| 3.3V | VDD |
| GND | GND |
| GND | BS |
Step 2: Coding
Before uploading the example code, we need to select the display class at the top of the code. This example code can be used for all of the four E-ink display.
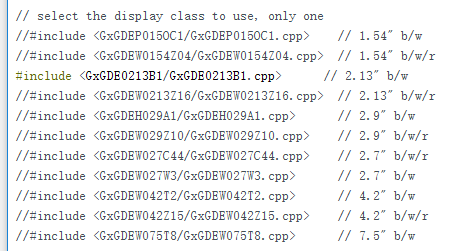
Explanation for the comment:
“1.54” is the e-ink display size, “b/w” means the black and white color display, “b/w/r” means black, white and red color display.
Remove “//” before “#include” to make the code usable, otherwise add “//” before “#include” if you are not using that model display.
You can now upload the code. Will take a couple of seconds for the image or text to refresh.
Change the image code in IMG_0001.h. In this tutorial you can learn how to generate a c array code to form a picture.
Voila! You have just displayed your first image on a E-Ink DIsplay. Two quick and easy steps. Now that you have an idea of how the display work, you can go on to making more complicated images.