


")

How to Monitor Air Quality with PM2.5 and 1.0 Sensor
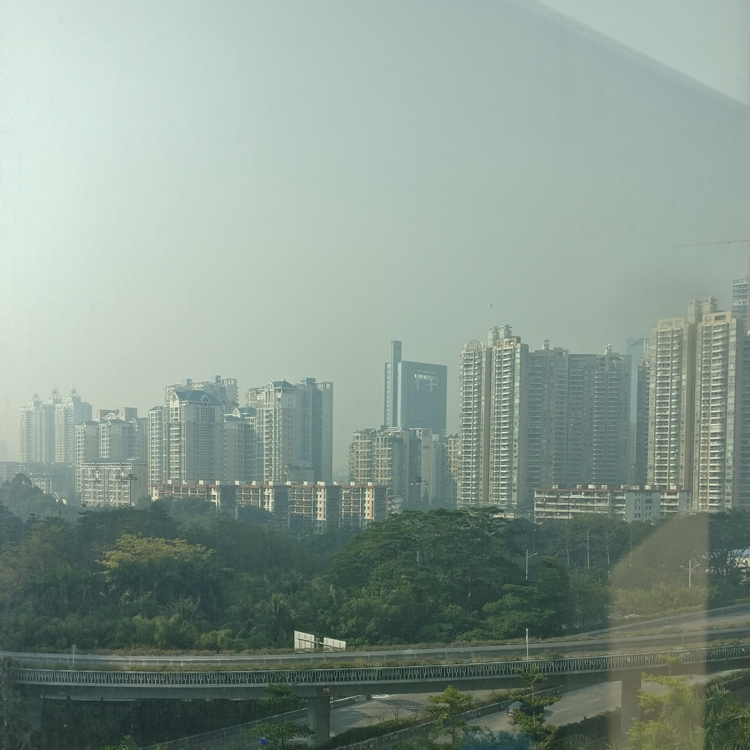
View from outside our office window, yes, it was very polluted that day!
Today we’ll build a PM station that can measure PM1.0 to monitor your air quality. We'll use Arduino to read the sensor’s data, including PM2.5 and PM10.0, then show this data on the OLED display.
You can find an easy test how-to for your OLED display here.
Track your air quality reliably and in real-time! This particular sensor is super easy to set up and use right out of the box. With the example code included in this how-to, it's as easy as hooking it up to an Arduino and uploading the code.
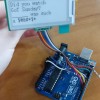
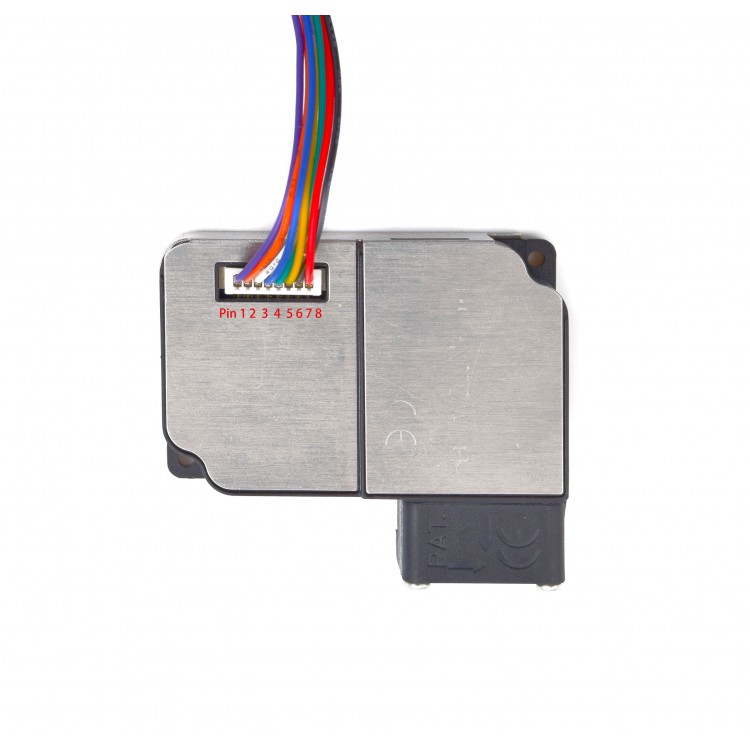
Reliably monitor both PM1.0 and PM10 levels in addition to PM2.5. PM refers to Particulate Matter which here are dust concentrations 10 microns or smaller in diameter. The sensor used here is PMS3003 and utilizes a light scattering analysis method to measure the dust inside the box. A laser radiates particles and collects the resulting scattered light to measure the curve of scattering light over time. The connected microcontroller will then determine the equivalent particle diameter and the number of particles of different diameters per unit volume.
The code provided will output this collected data as both standard units of measurement (think: AQI rating) and environmental units (ug/m3)
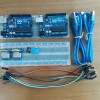
So, let's get started! Here's what you'll need:
Hardware:
- 1.5 in. Display 128 x 128
- Arduino Uno
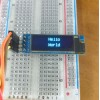
- PM Senor box and breakout board kit
- Breadboard
- Extra jumper wires (for power, ground, and TX)
Firmware:
- Arduino IDE
- Adafruit SSD1351 Library (for the OLED display)
- Adafruit GFX Library (for the OLED display)
- Example Code
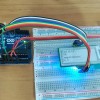
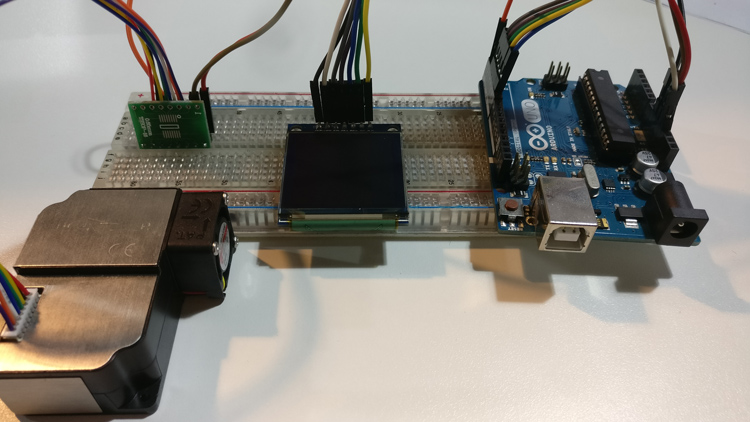
Step 1: Hook up your Hardware

First, let's hook up the display to the Arduino Uno and then the PM sensor to the Uno. You can use a breadboard to hook up both of these quickly. The pinout for the sensor is below and here are the connections you'll need to make:
| 1.5 in. Display | Arduino Uno |
| GND | GND |
| VCC | 3.3V |
| SCL | D2 |
| SDA | D3 |
| RES | D6 |
| DC | D4 |
| CS | D5 |
| PM Sensor | Arduino Uno |
| GND (pin 2) | GND |
| VCC (pin 1) | 5V |
| TX (pin 5) | RX |
Disconnect the RX pin on the Arduino Uno when you upload the code. Reconnect it when the code has uploaded.
Step 2: Coding Time!
Upload the example code provided. Don't forget to install the library linked to above!
Now, go ahead and run the code. Let it collect data for a few seconds to stabilize.
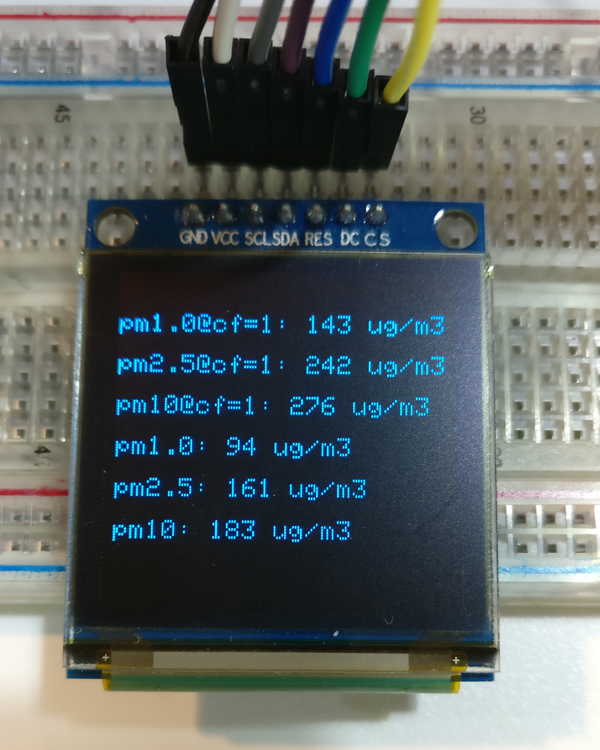
That's it! A simple, two-step process for measuring your air quality. Expand on this breadboard hook up and integrate the sensor into a weather station or make a smart air filter. There are any number of fun projects you can do with a PM sensor.
6 Comment(s)

is it possible to buy an already functioning device ready to use?

Hi yes, there is. Do you want to buy one? We can source it for you here.Best,

Can I buy a complete device?
could you email me more information about getting a functioning device here kindratyshyn@gmail.com

how can i send the same data to my server using esp8266 am working on a similar project and am not finding a way to upload the sensor data to my server. can you help me with the same?

Have you tried "Thingspeak"? It was suggested to me in response to a similar question.

Hi. Is it possible to get the values has "count"? For example "PM1=94 particles; PM2.5=120particles, ..." Thanks

Hi you can purchase PM2.5 sensor here : https://www.smart-prototyping.com/Zio/zio-modules/Zio-Sensors/zio-Other-Gas-Sensors/Zio-Qwiic-PM-Air-Quality-Sensor-and-Adapter-Board

Hi, what's the difference between PMx@cf=1 and PMx values ?The PM sensor is on the way to my home thanks for the howto

I was going to ask the same